DIY GUIDE: Handmade Heart Candle Holders
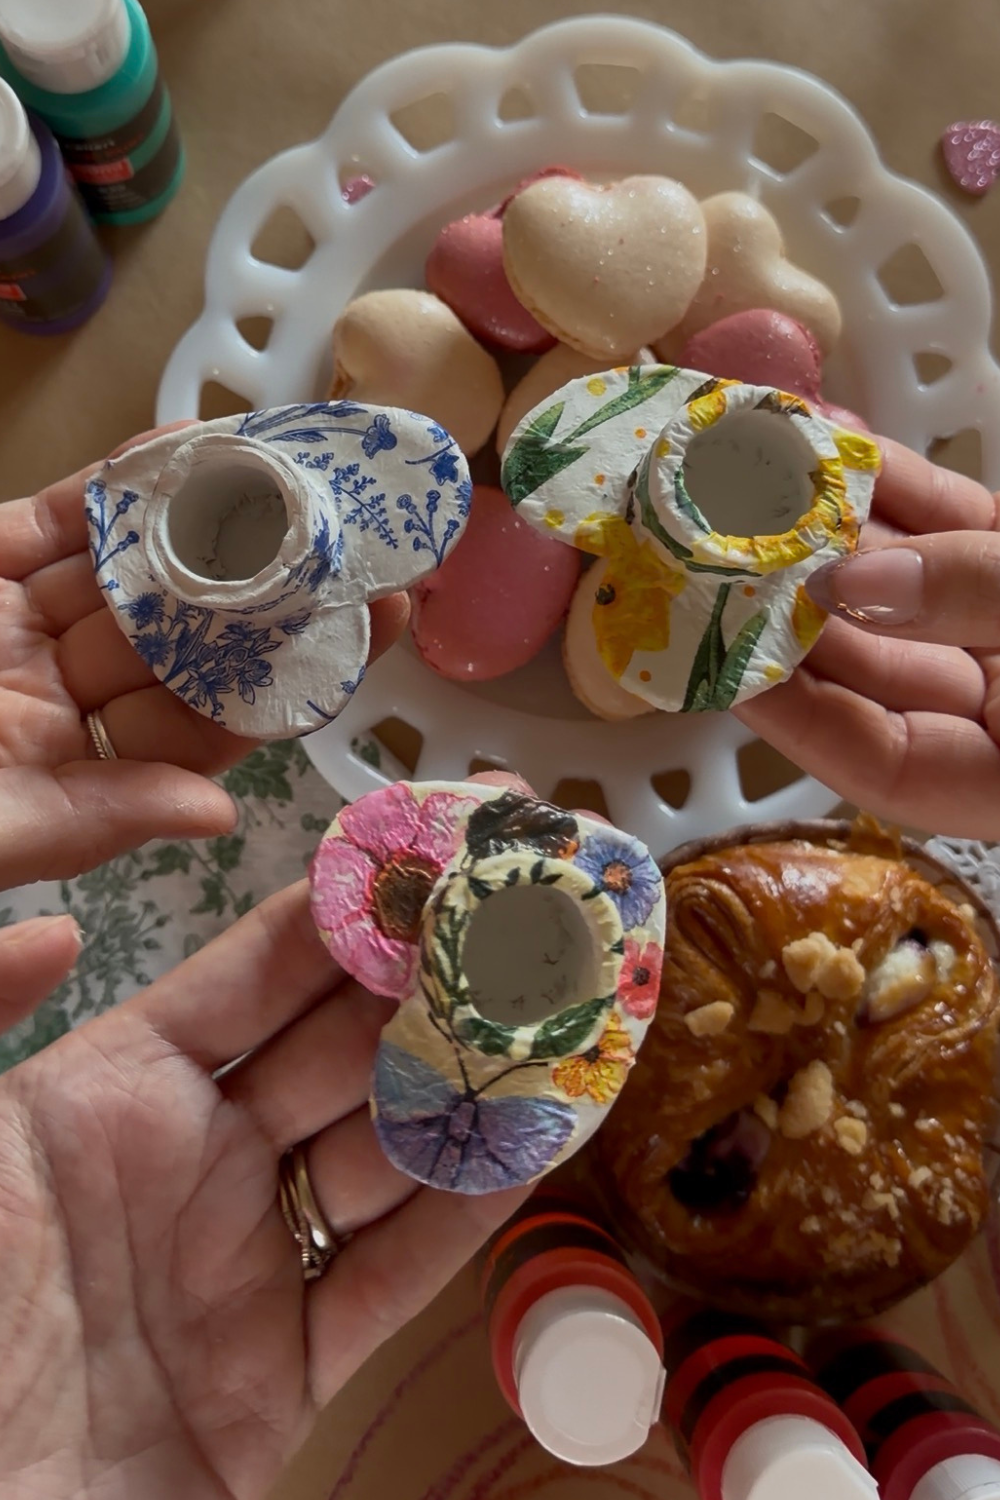
Handmade heart-shaped air-dry clay candleholders are a cute craft night idea for a Galentine’s party or girls’ craft afternoon. In this guide, I’ll walk you through how to make the candleholder bases ahead of time so when everyone arrives, the fun part is painting, decoupaging, and decorating their own to take home.
Plan to purchase your air-dry clay craft supplies in advance and set aside an afternoon 3-4 days before your craft party to shape & fully dry the candleholders.
By making the clay bases a few days in advance, guests can spend the party decorating them with patterned napkins using an easy decoupage technique. The result is a personalized candle holder that feels charming, handmade, and completely unique.
Plan Your Craft Timeline
This project works best when the clay bases are made ahead of time.
Complete clay steps in advance: 3–4 days before your event
Clay shaping time: One afternoon
Decoration time: 15-30 minutes per candleholder
Materials
Materials: Creating the Clay Candle Holders
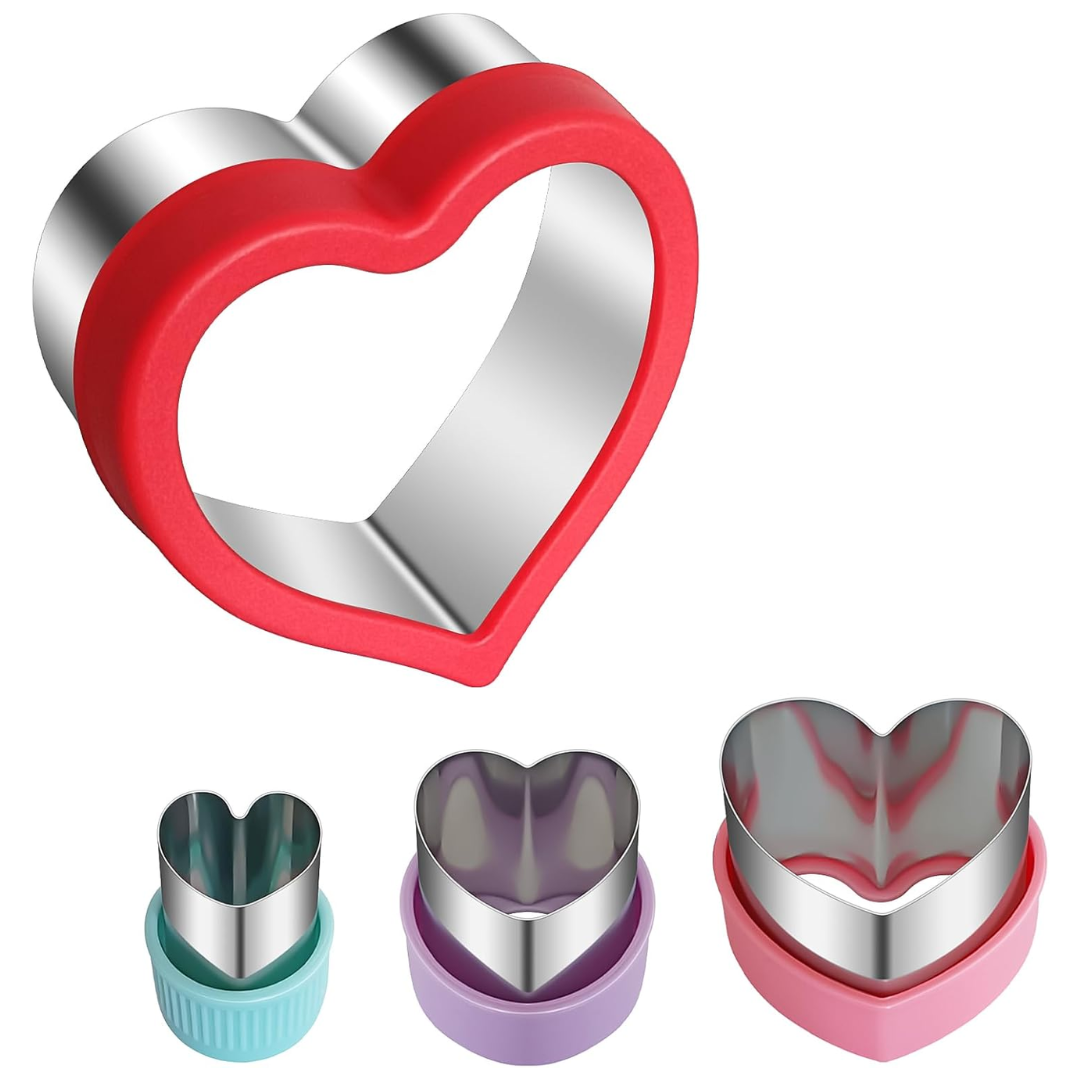
Heart-shaped cookie cutter, 2.75” diameter recommended (or any shape you’d like)
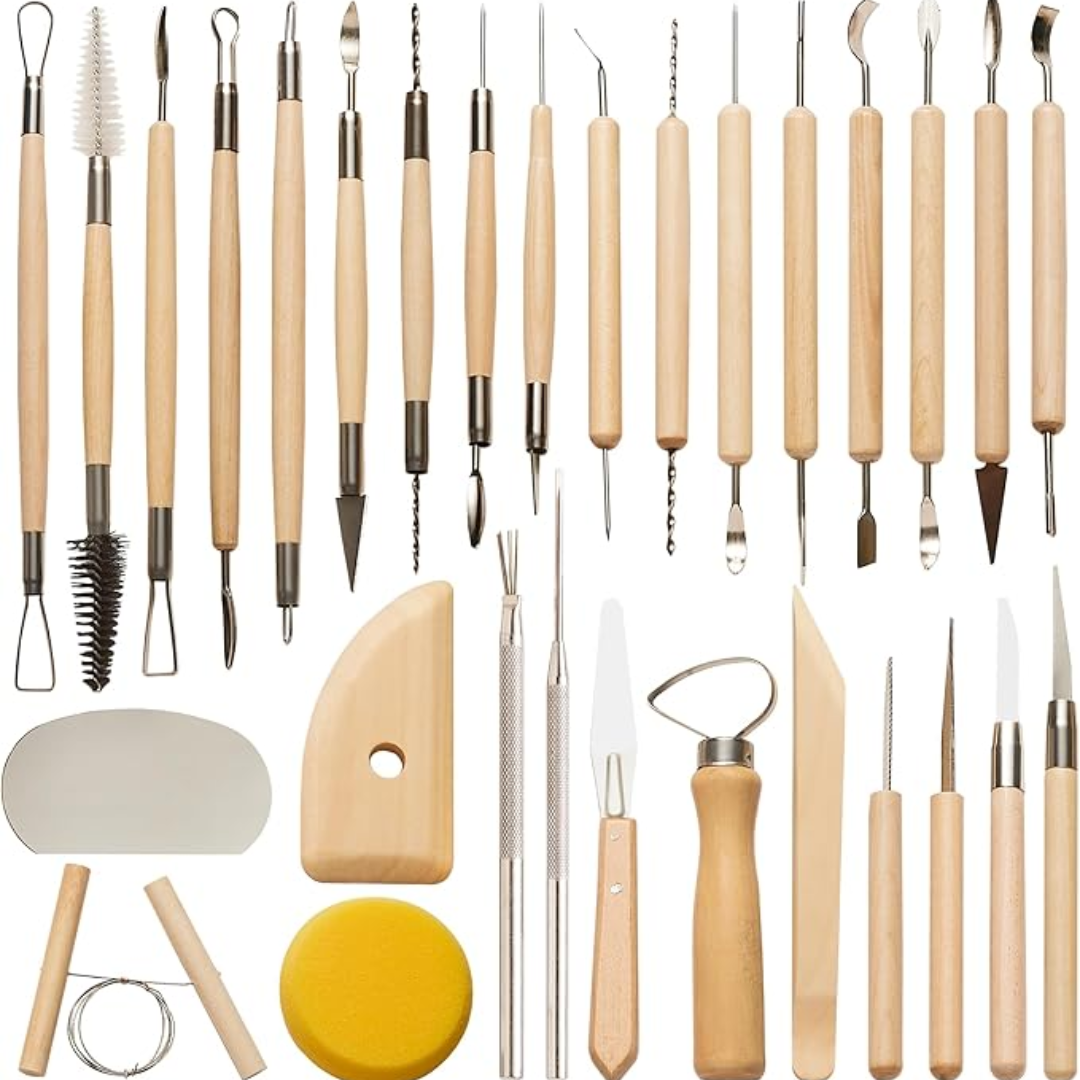
Air-dry clay tools
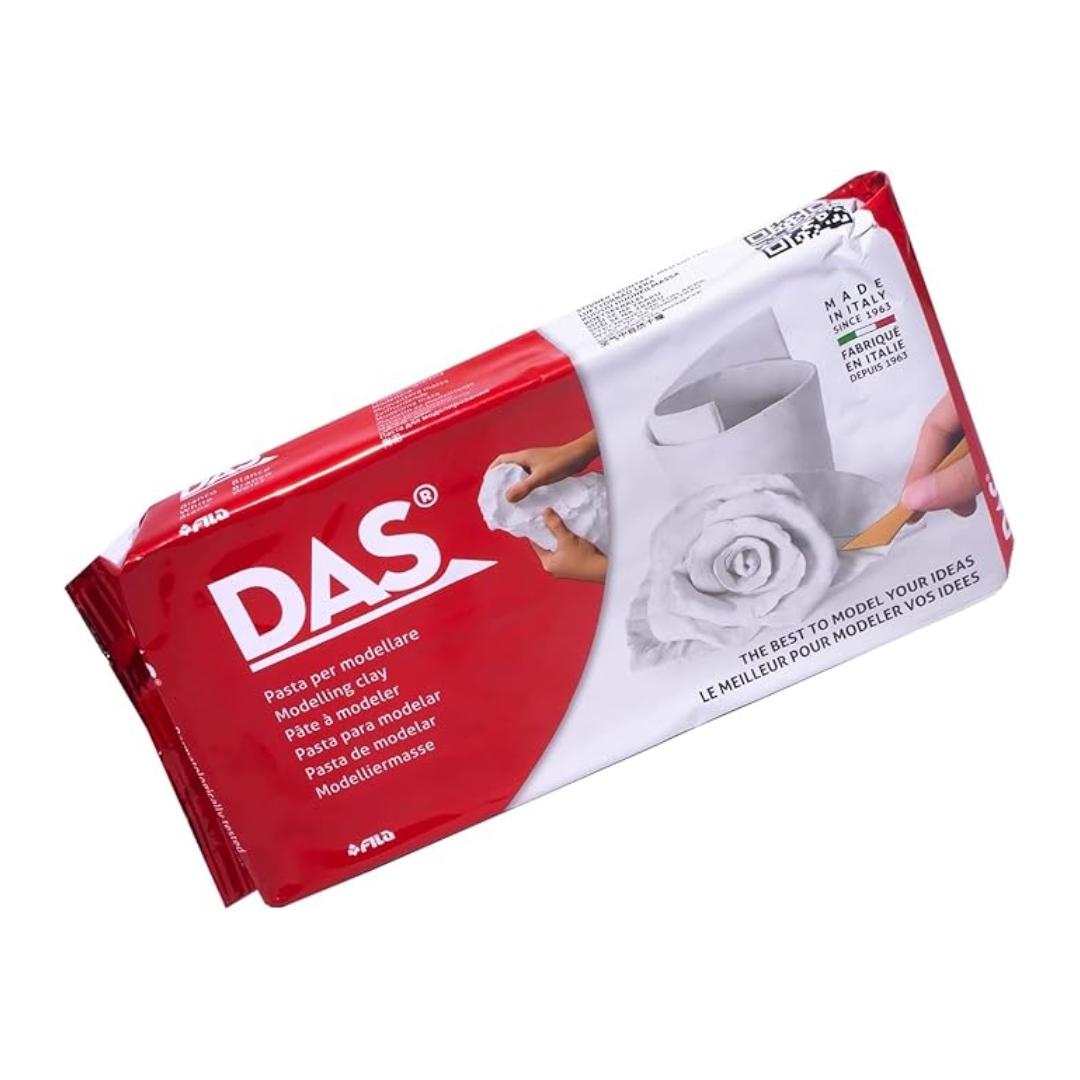
Air-dry clay
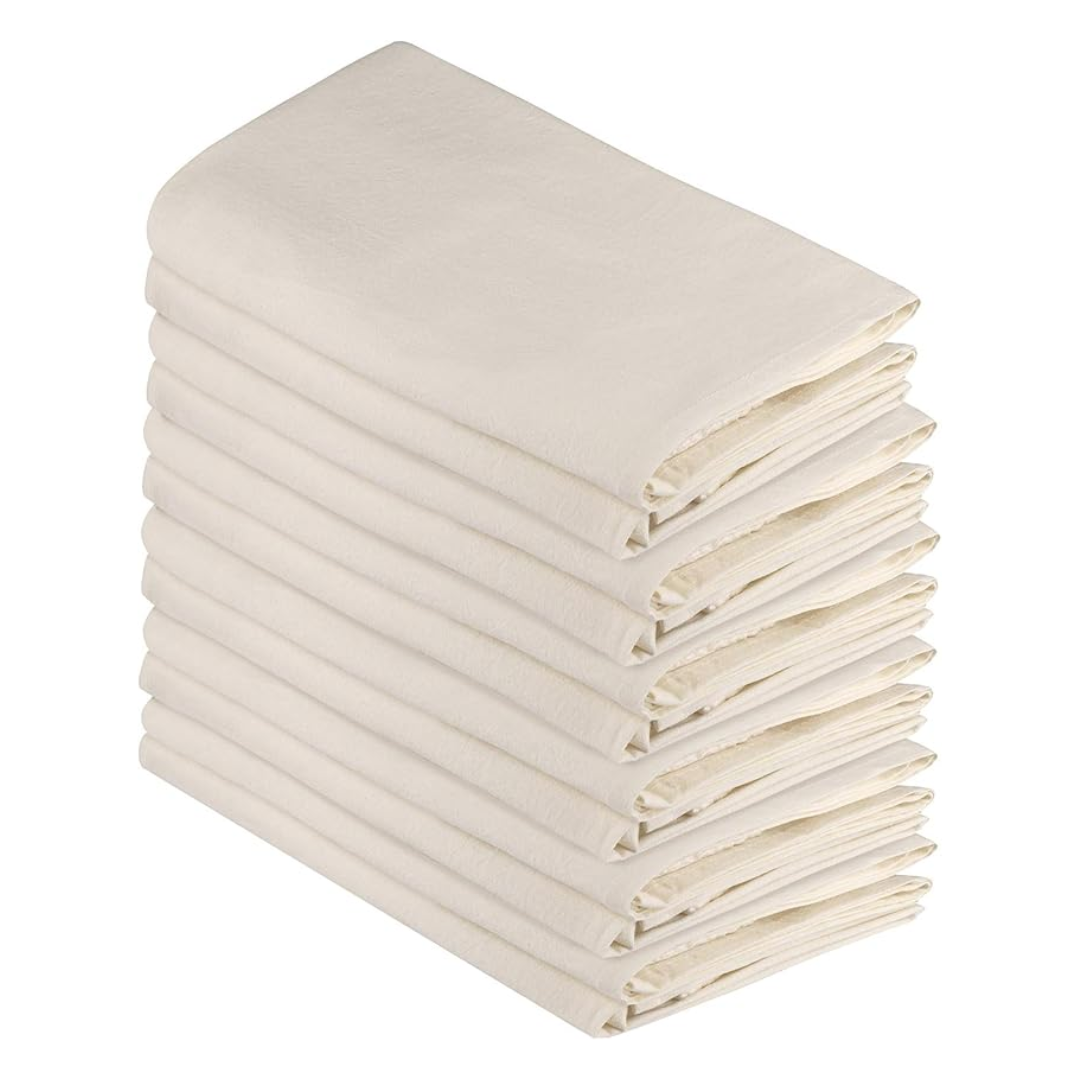
Flour sack towels (for a sturdy work surface)
Materials: Decorating the Clay Candle Holders
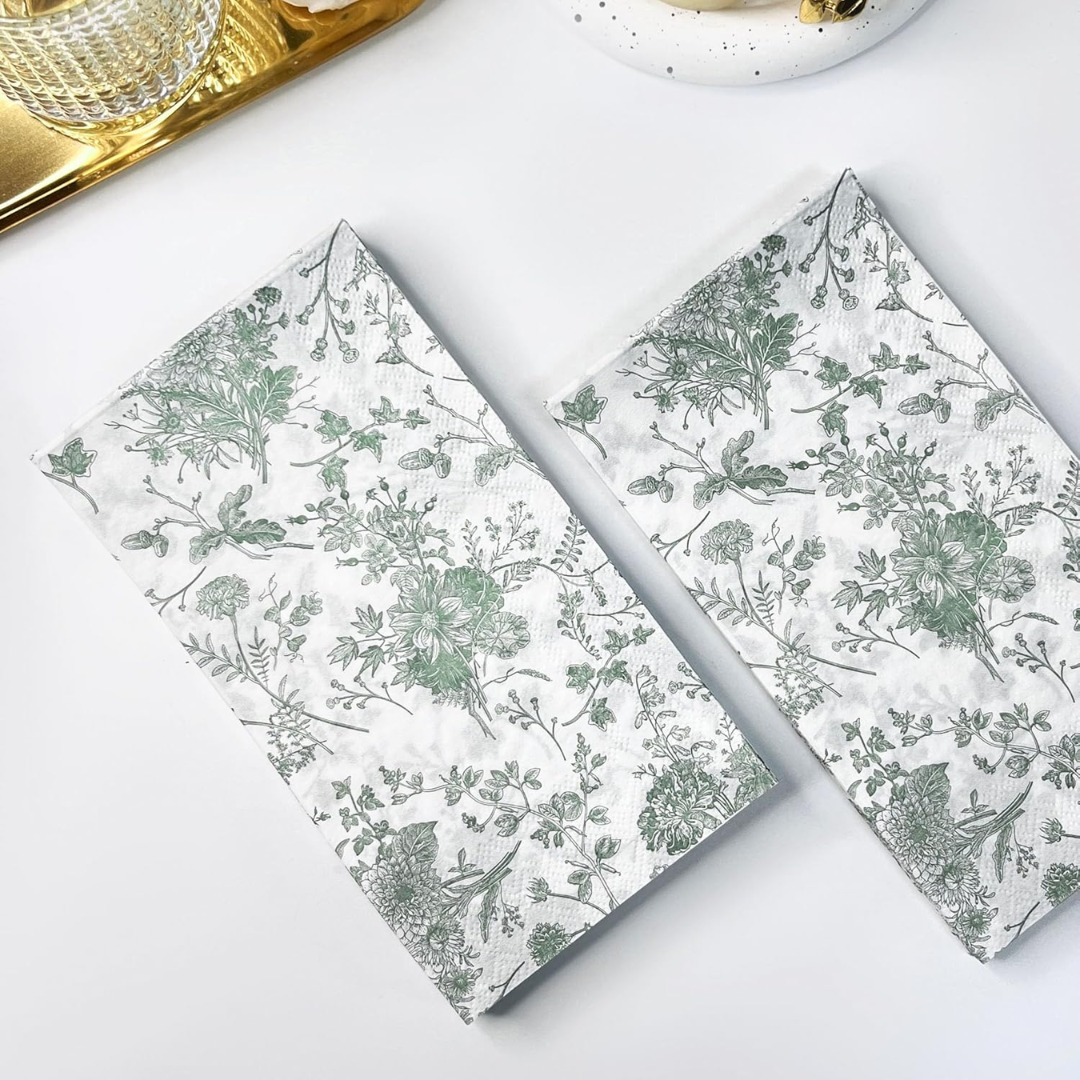
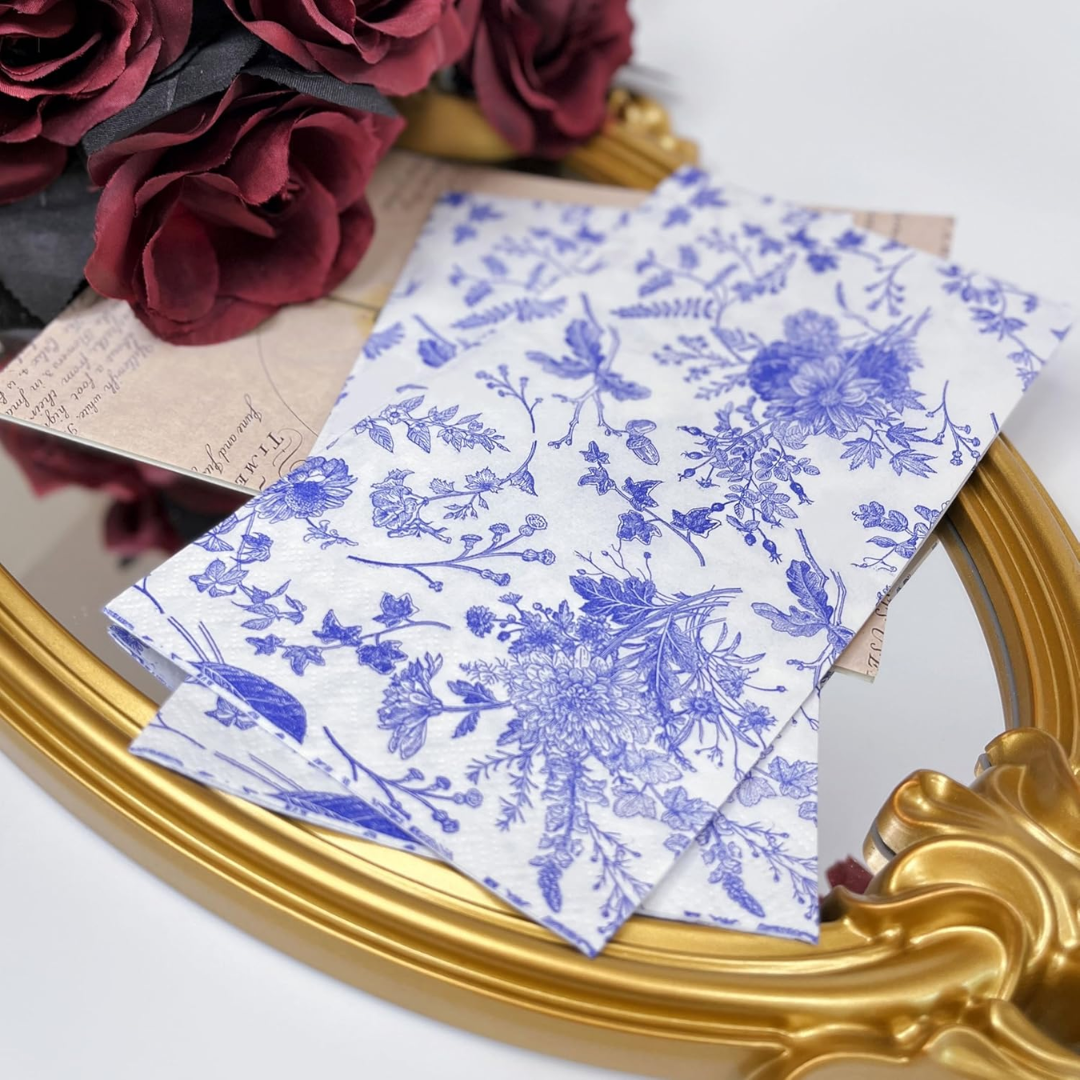
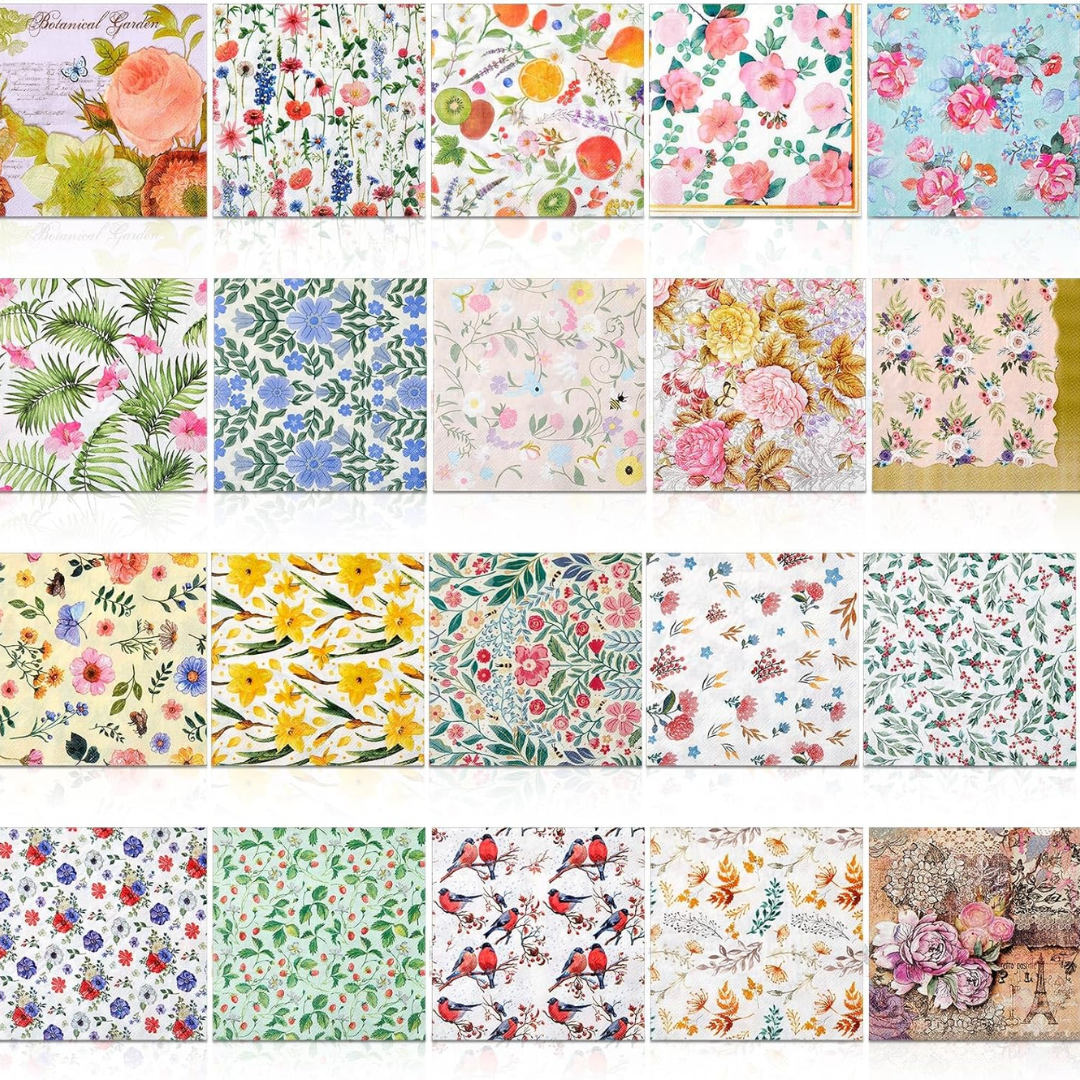
Patterned napkins
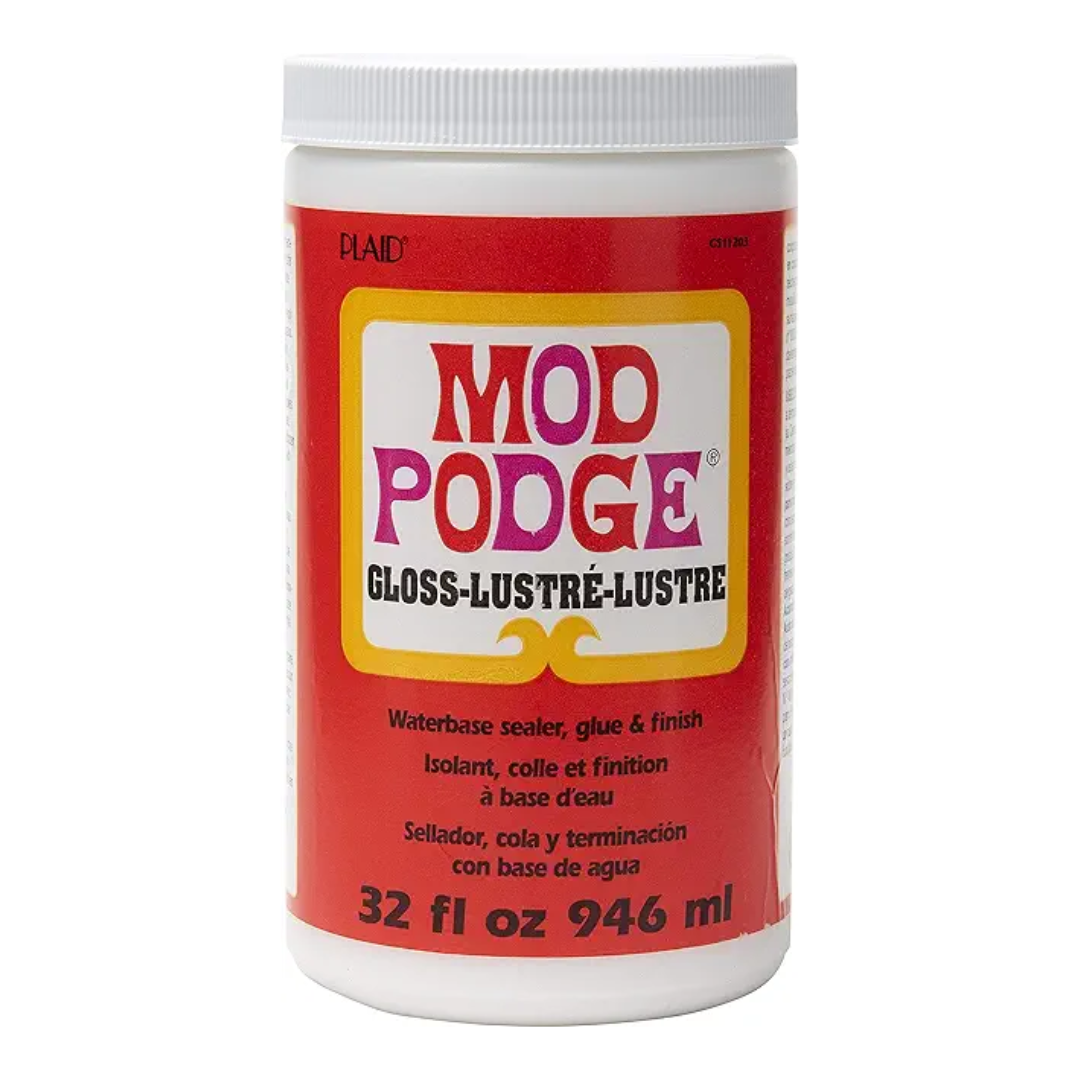
Mod Podge
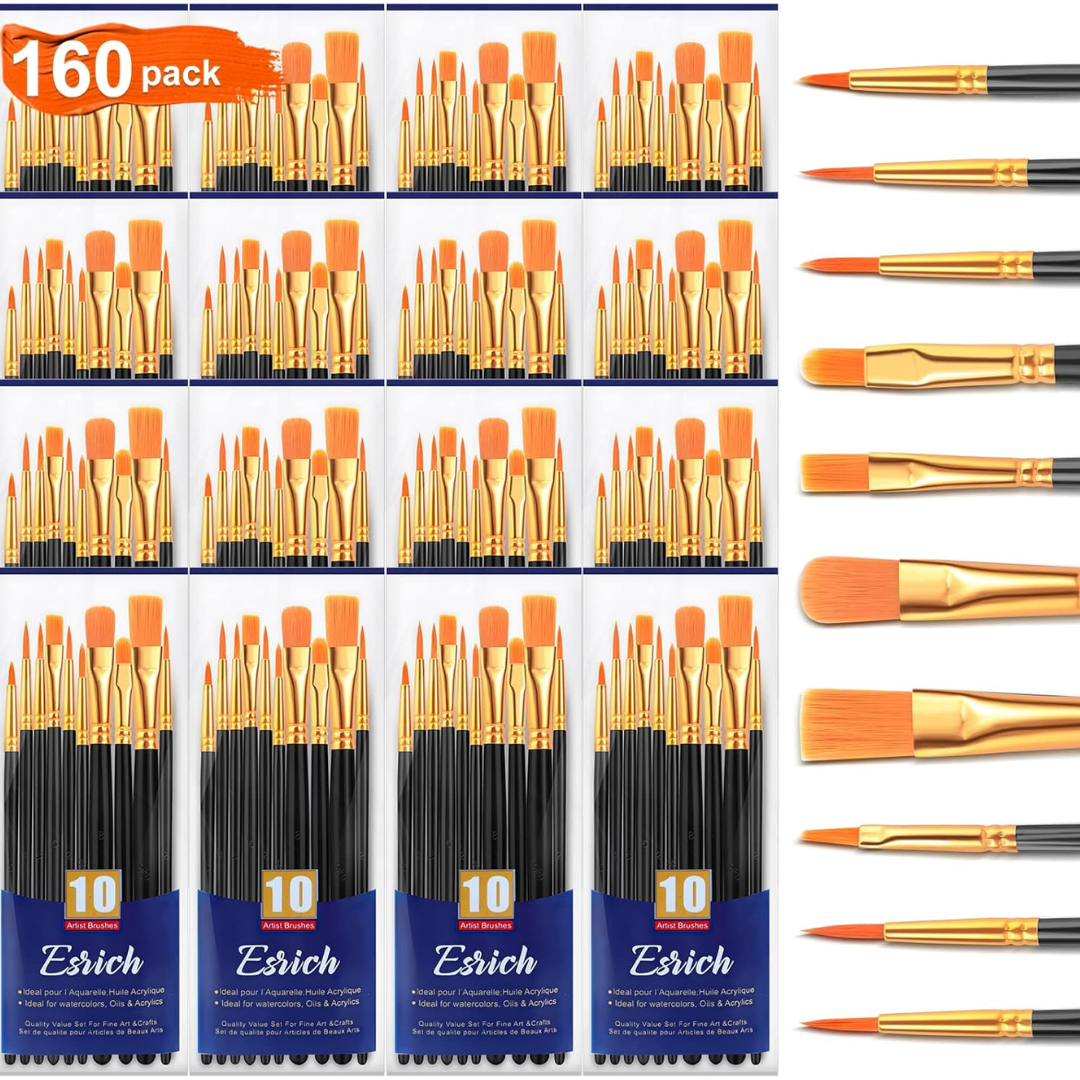
Paint brushes
Ribbon
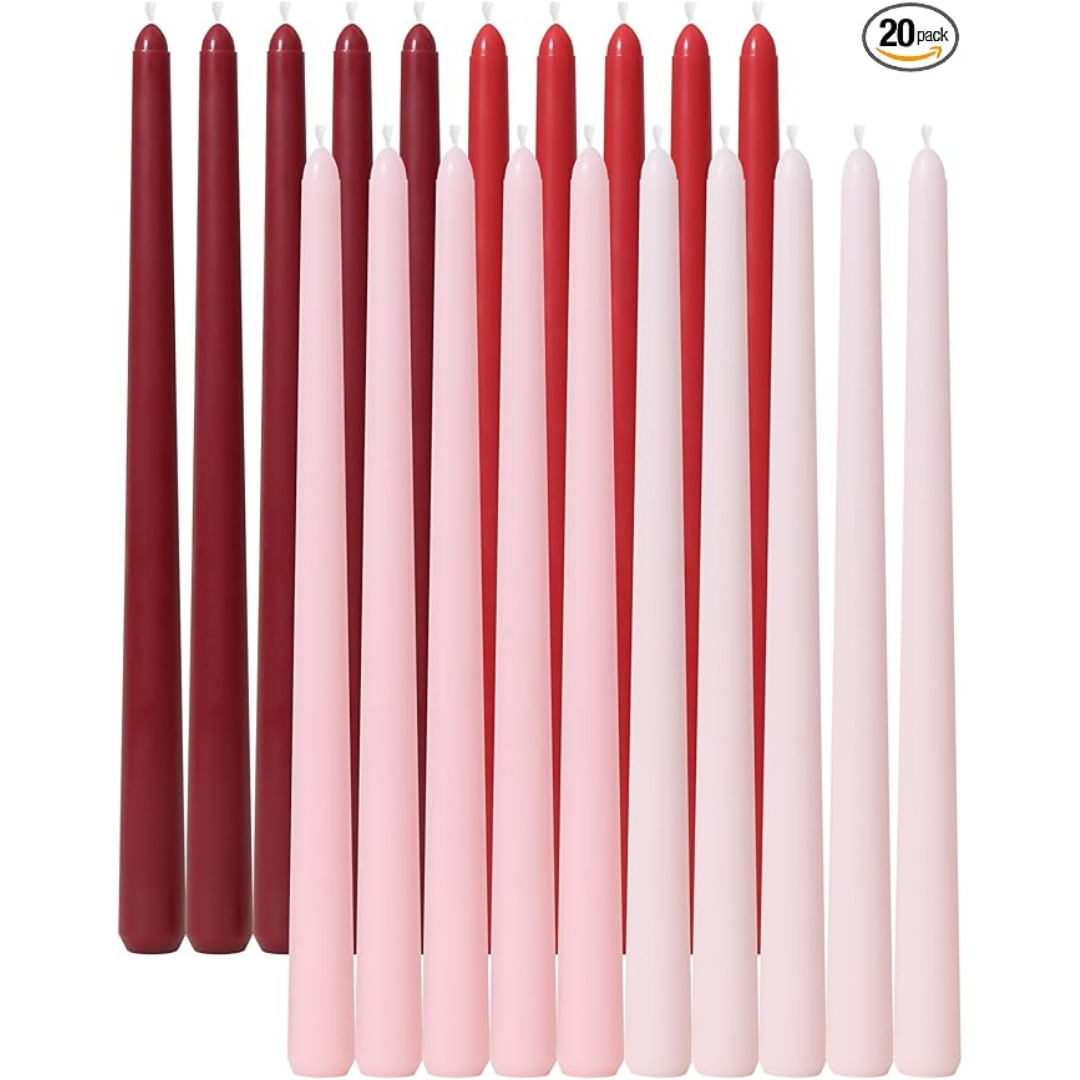
Taper candles (used for sizing the holder)
Step 1: Prepare Your Workspace

Lay flour sack towels on your table to protect the surface and prevent the clay from sticking.
Set out your air-dry clay, rolling pin, cookie cutter, and clay tools.
Keep a taper candle nearby. You will use it repeatedly to size the candle ring correctly.
Step 2: Roll and Cut the Heart Base
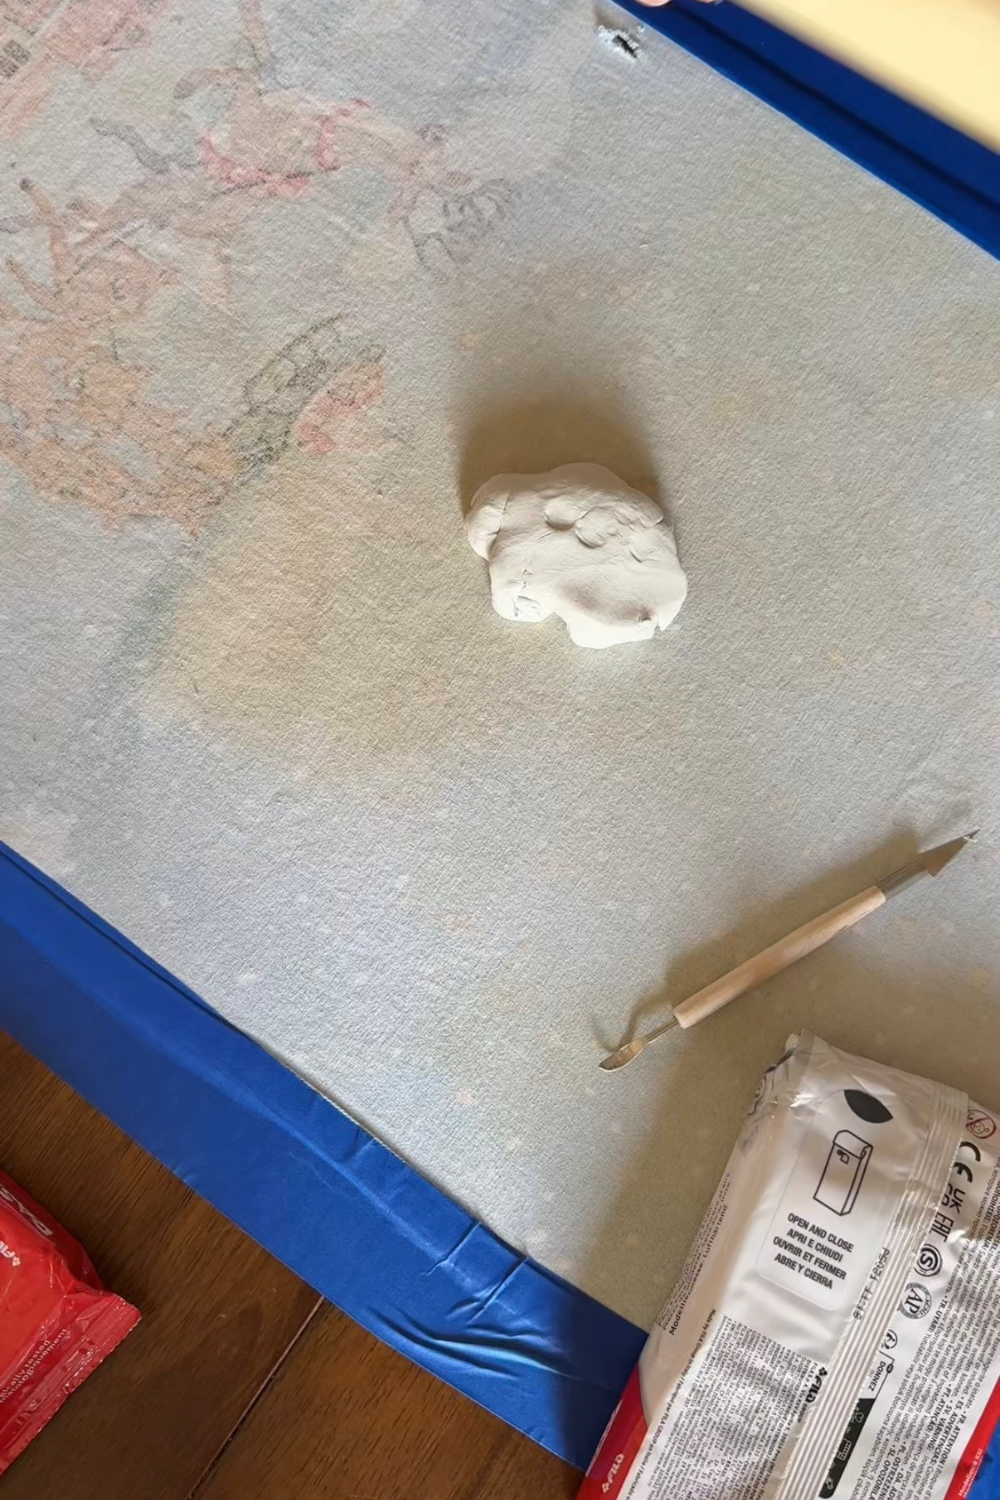
Roll the air-dry clay until it is about ¼ inch thick.
Press the heart-shaped cookie cutter into the clay to cut out the base.
If the heart shape is slightly too small for the size of the candle, gently roll over the shape again with the rolling pin to widen it slightly.
This process creates small variations in each heart, giving the finished pieces a more handmade feel.
Step 3: Create the Candle Ring
Use your clay tools to cut a long strip of clay.
Wrap this strip around a taper candle to form a ring. This helps you size the opening to fit the candle.
Trim the ends so the ring meets cleanly.
Repeat the sizing with the candle each time you make a new ring to keep the fit consistent.
Step 4: Attach the Ring to the Heart


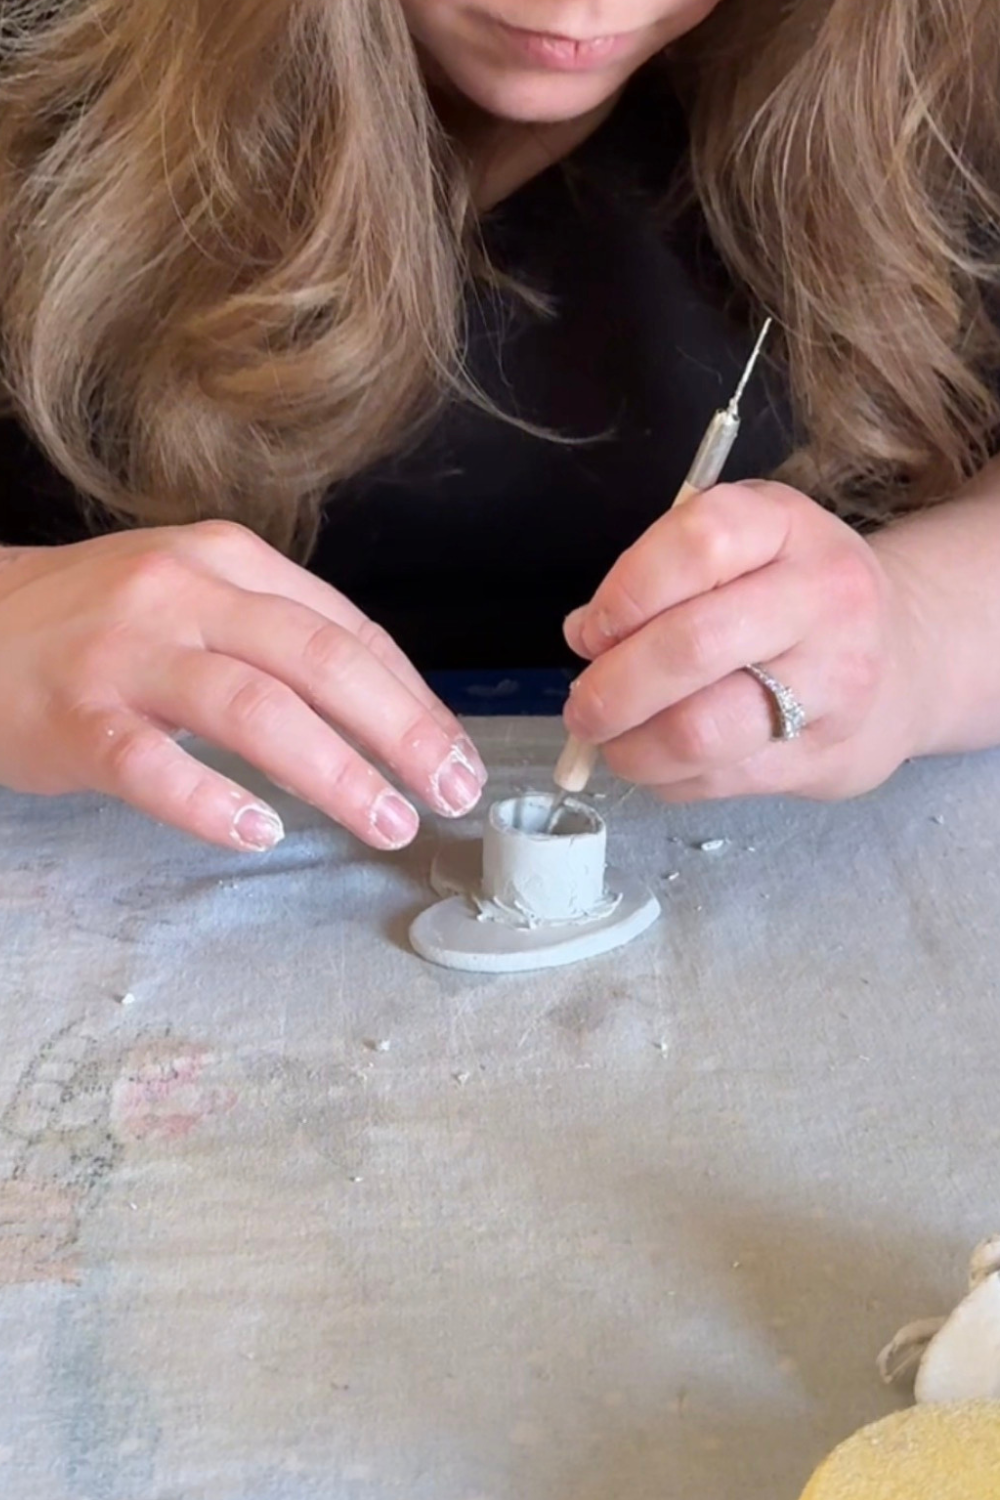
Place the ring where you want the candle to sit on the heart base.
Use a clay tool to score the clay on the heart where the ring will sit.
Score the bottom edge of the ring as well.
Press the ring firmly onto the scored area.
Use your fingers or a clay tool to smooth and seal the seam where the clay pieces meet.
Scoring the clay creates friction that helps the two pieces bond together as they dry.
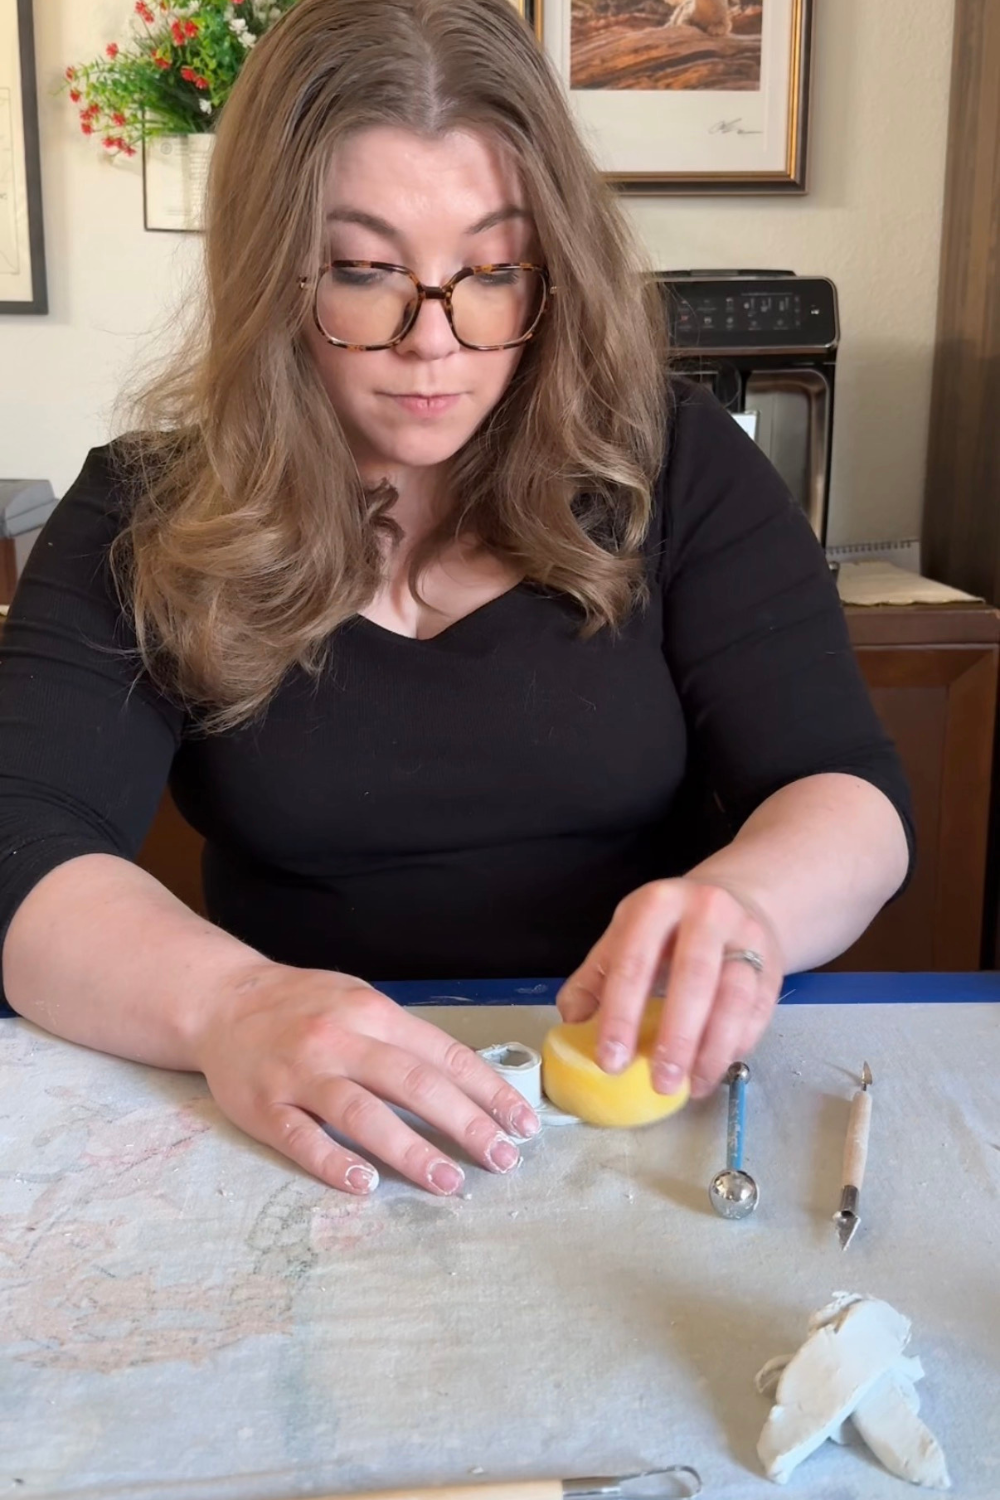
Step 5: Allow the Candle Holders to Dry
Place the finished candle holders in a flat area where they can air dry.
Allow 3–4 days for full drying.
Air-dry clay often advertises 24–48 hour drying times, but ventilation makes a big difference. If your drying area has limited airflow, plan for additional time.
Once the clay is completely dry, the candle holders are ready for decorating.
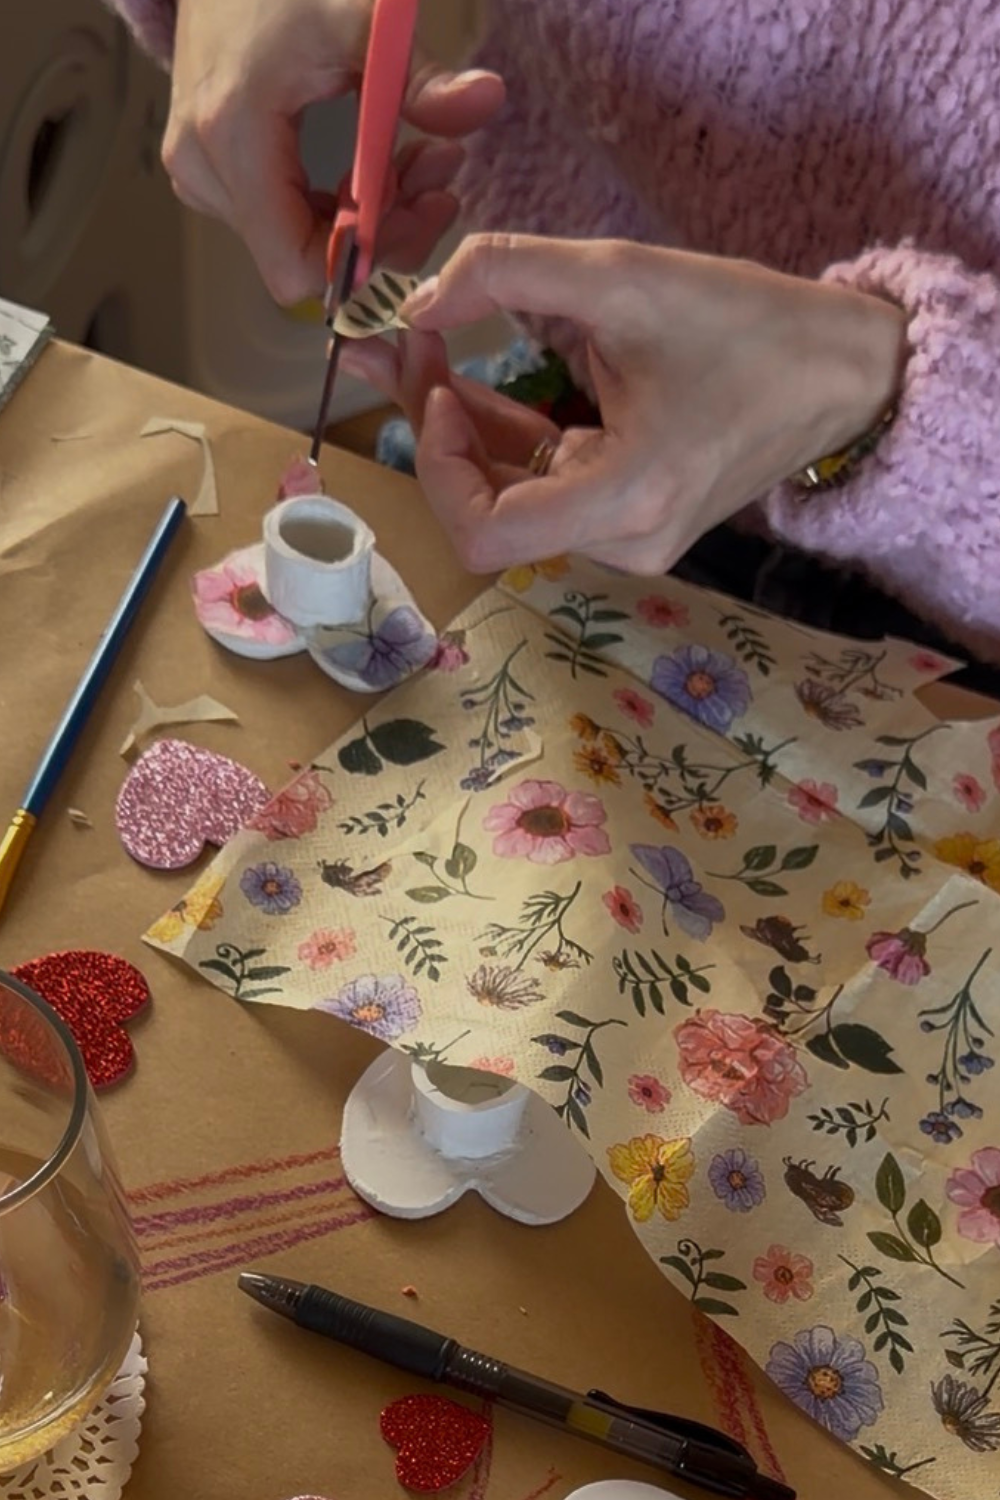
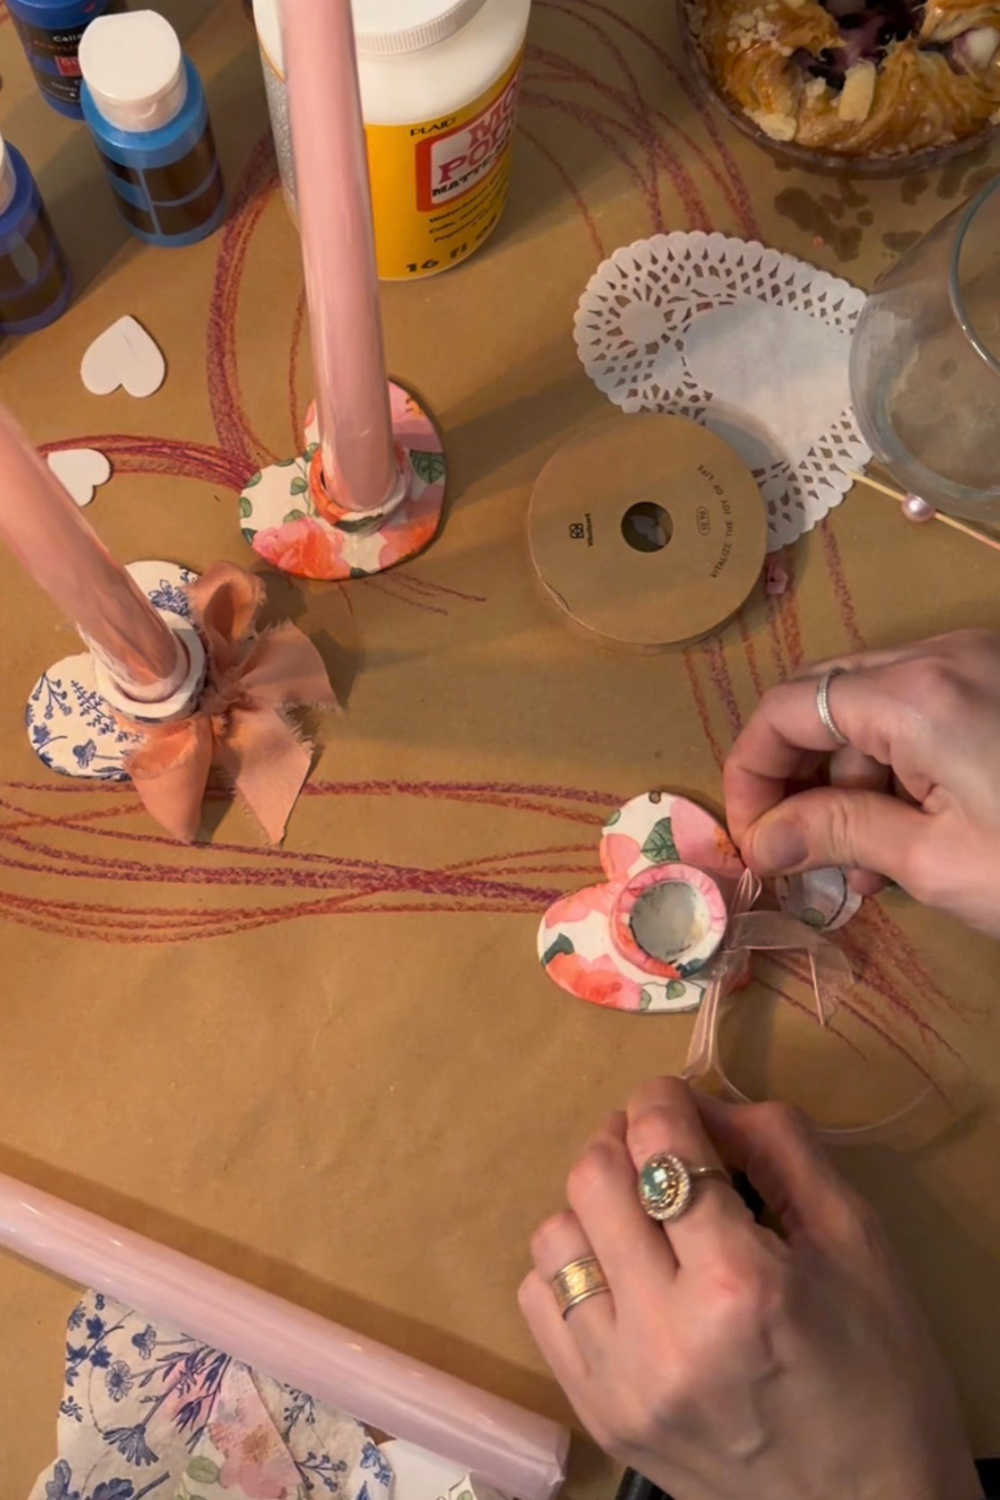
Step 6: Preparing and Applying the Napkin to Decoupage
Two ways to do this is to cover the candle holder in sections or to cut out shapes and add each shape to the candle holder separately.
Applying the Napkin in Sections
Heart Shaped Section of Candle Holder
Place a candle holder on top of a patterned napkin.
Trace around the heart shape, leaving about ¼ inch of extra space around the edges.
Cut out the larger heart shape.
Next, cut a small hole in the center where the candle ring sits.
Make several small cuts toward the center opening. This technique, called clipping or notching, helps the napkin curve smoothly around the shape of the ring.
Ring Section of the Candle Holder
Cut a strip from the napkin long enough to wrap completely around the ring.
This piece will cover the vertical wall of the ring and help finish the edges around the candle opening.
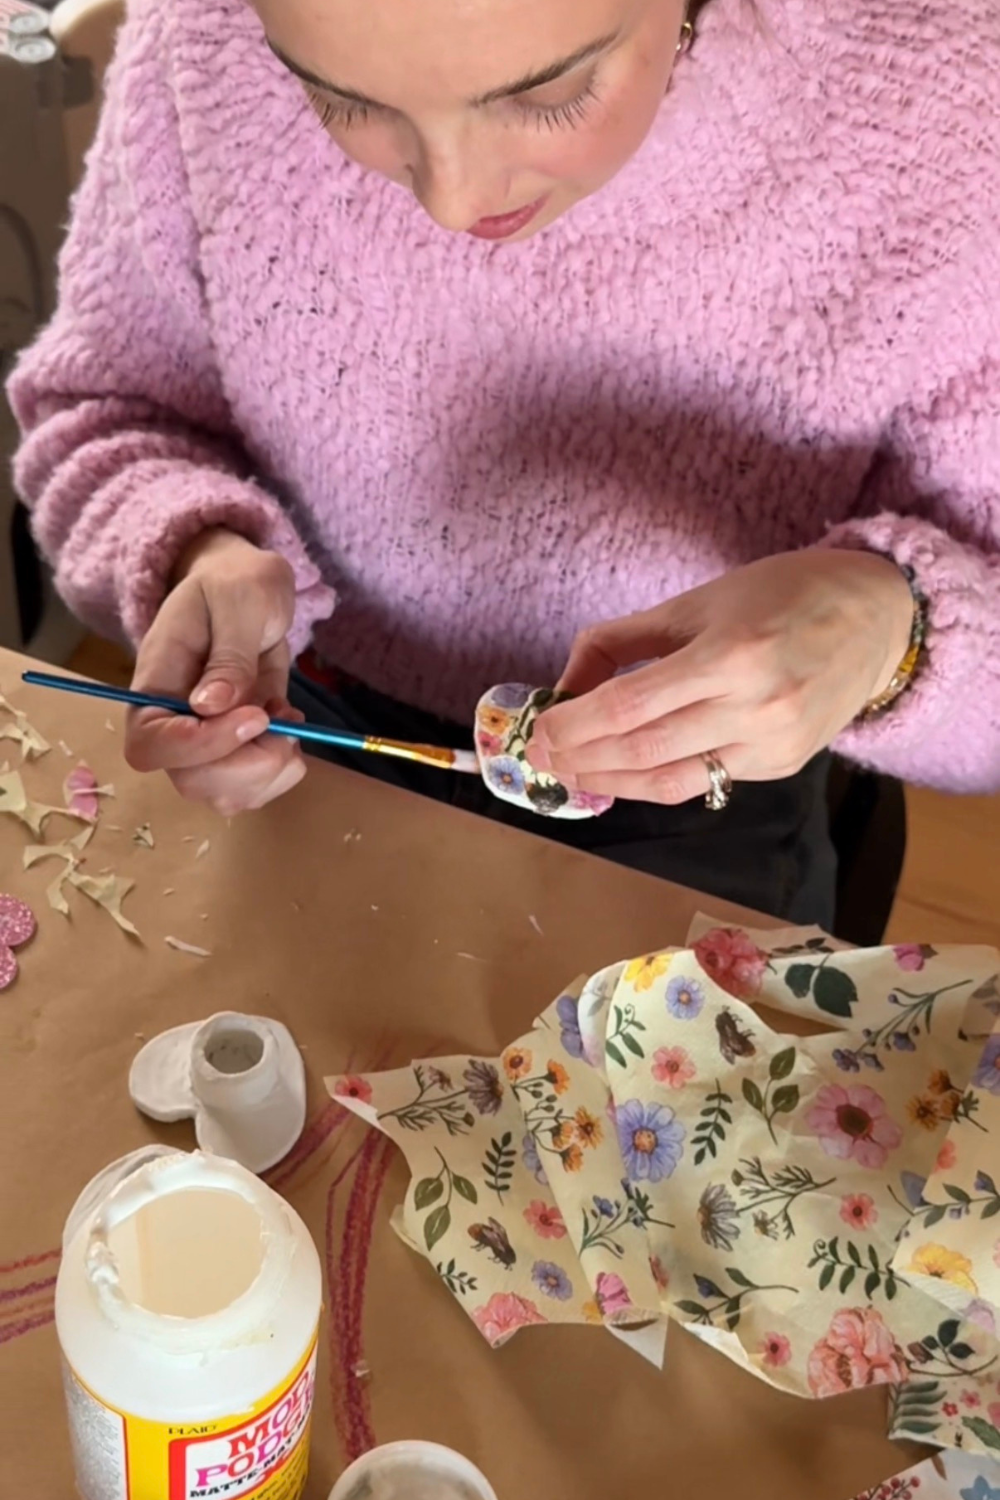
Mod Podging the Sections to the Candle Holder
Brush a thin layer of Mod Podge onto the clay heart.
Place the heart-shaped napkin piece over the base.
Gently smooth it down with your fingers or a soft brush.
Use the clipped sections around the center hole to wrap the napkin neatly around the candle ring.
Apply more Mod Podge as needed to seal the napkin to the clay surface.
Applying the Napkin in Cutouts
Cut out your favorite shapes from the napkins.
Place them (without mod podge) to get a good idea of where they look good together.
Begin taking them off in pieces or sections to:
Add a layer of mod podge to the candle holder.
Place the napkin piece onto the candle holder.
gently apply Mod Podge on top of the now applied napkin shape.
Step 7: Let the Decoupage Dry
Mod Podge dries quickly.
Allow the candle holders to sit for about 15 minutes until the surface is dry to the touch.
The bottom of the candle holder can remain unfinished, since it will not be visible when displayed.
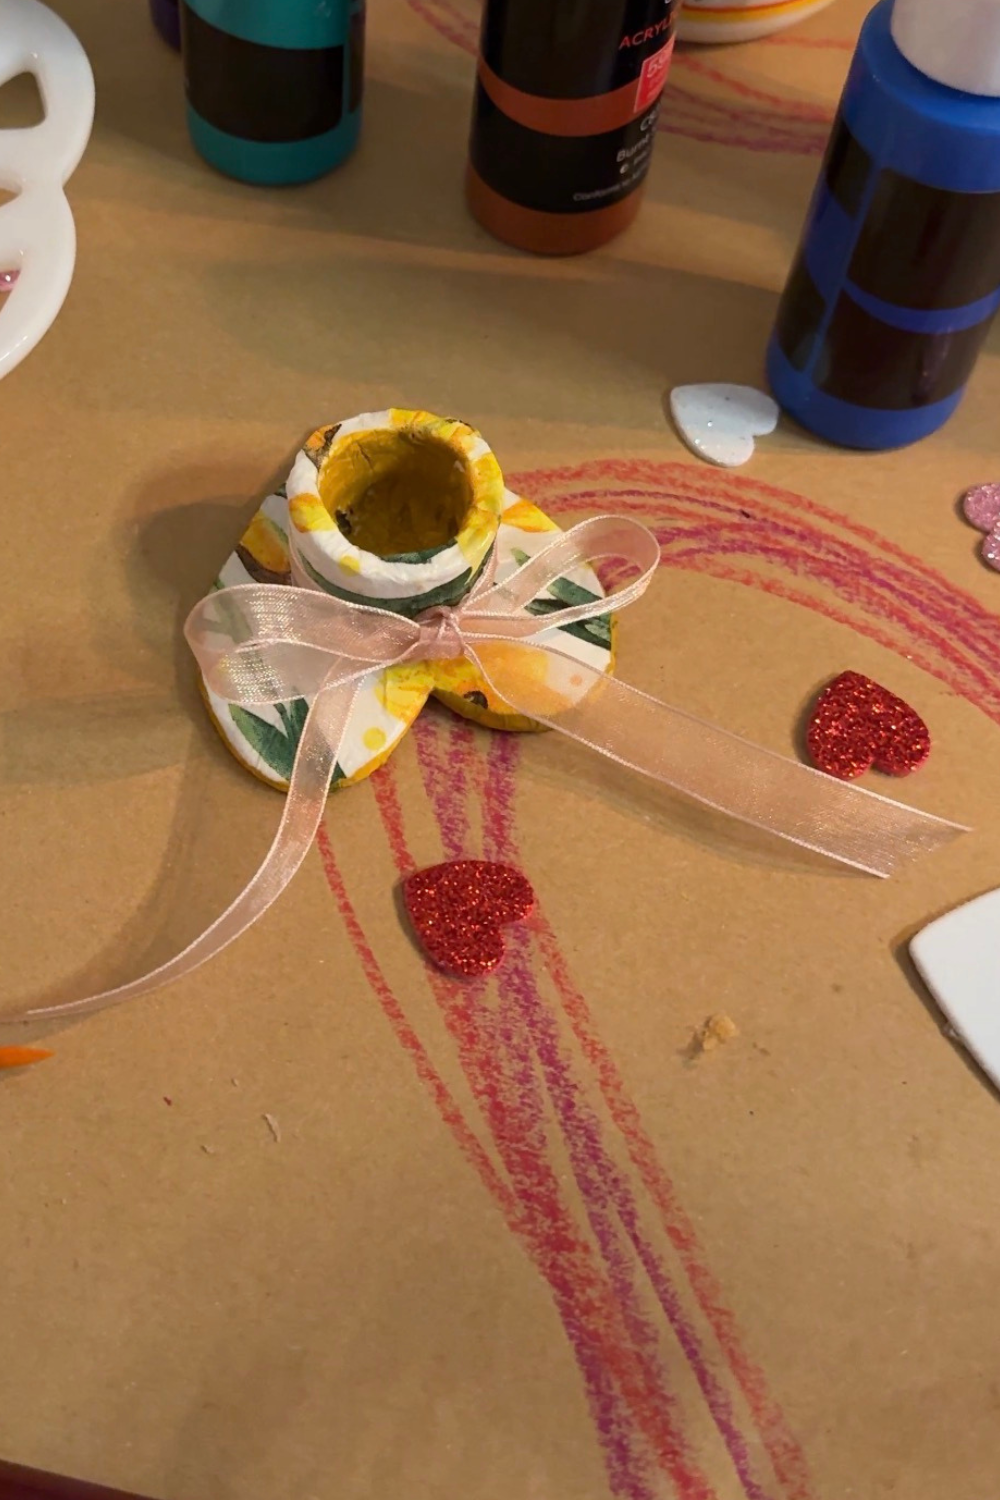
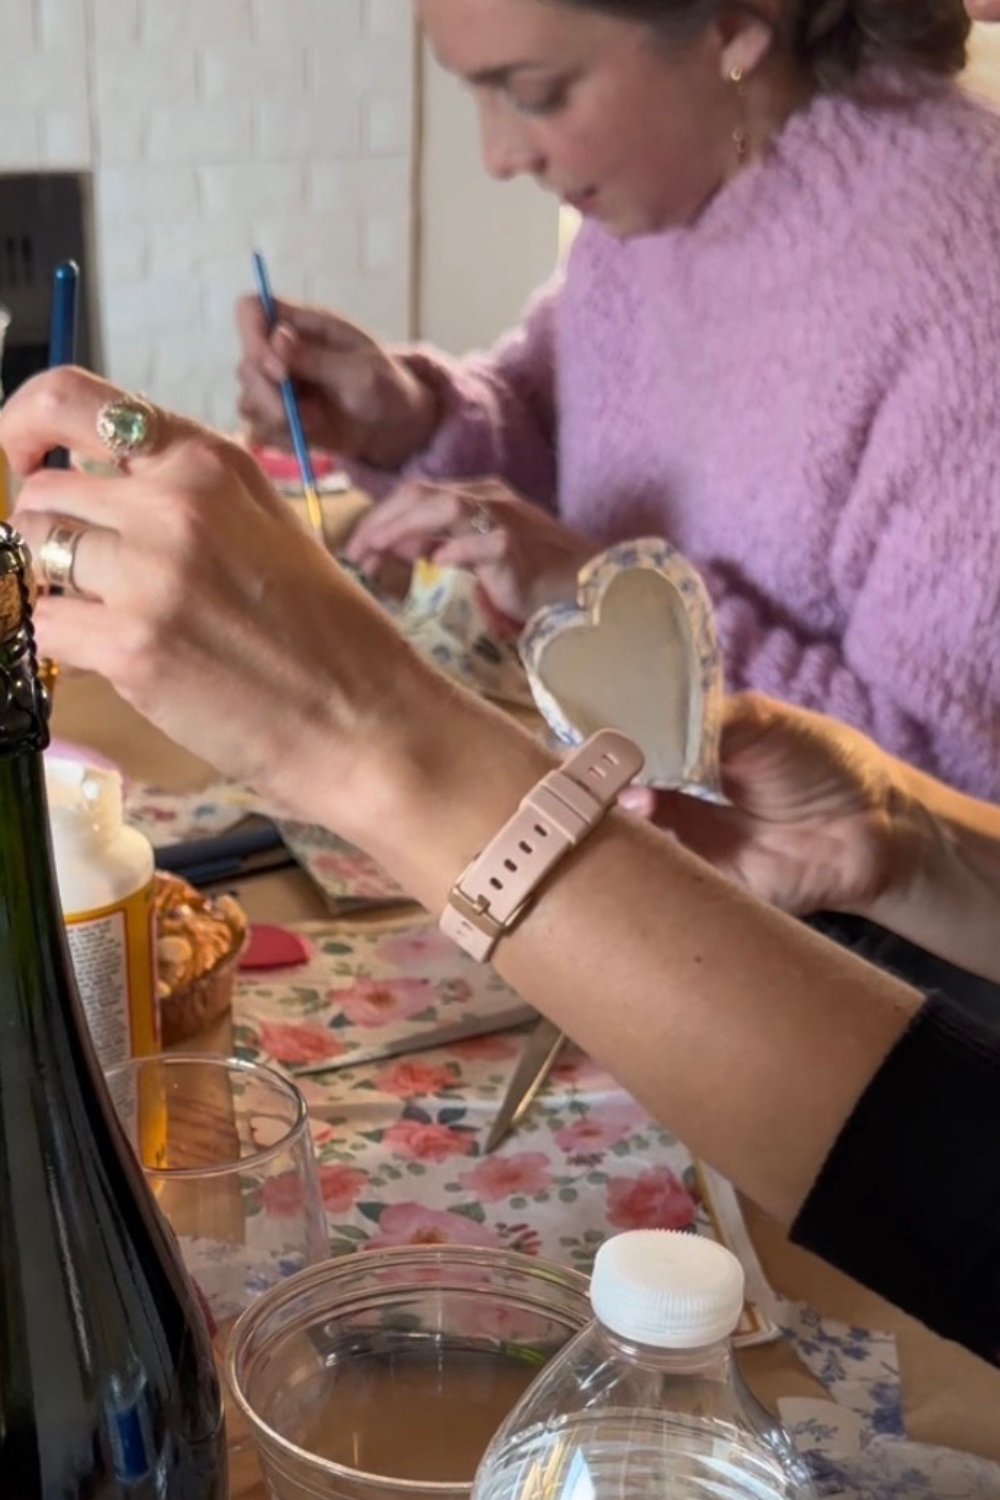
Step 8: Add the Finishing Touch
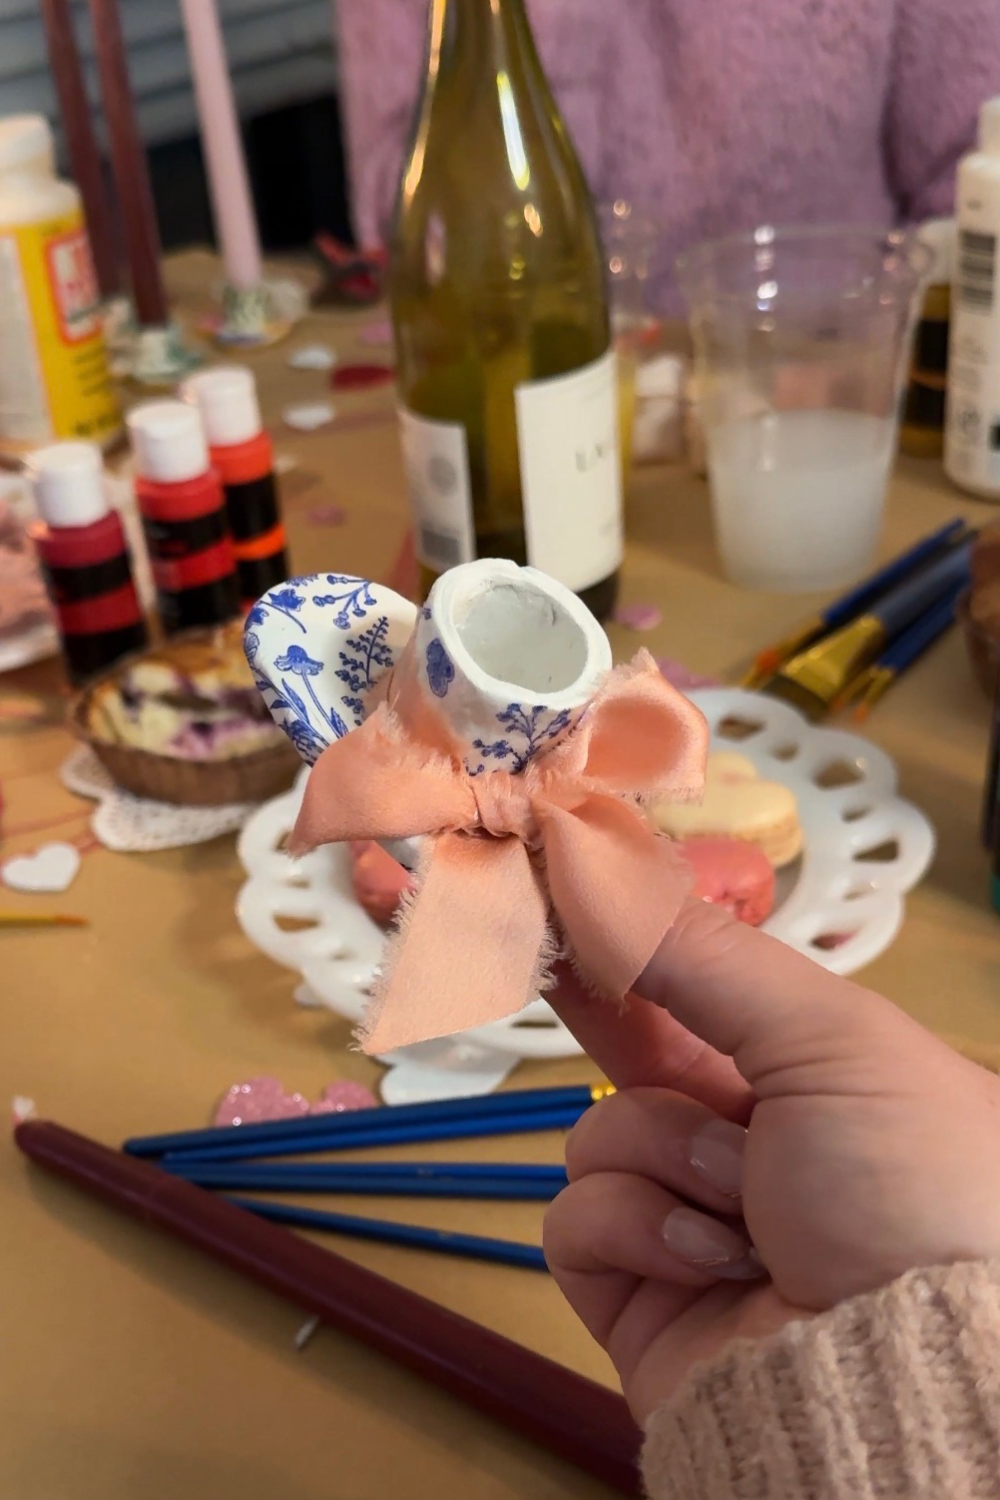
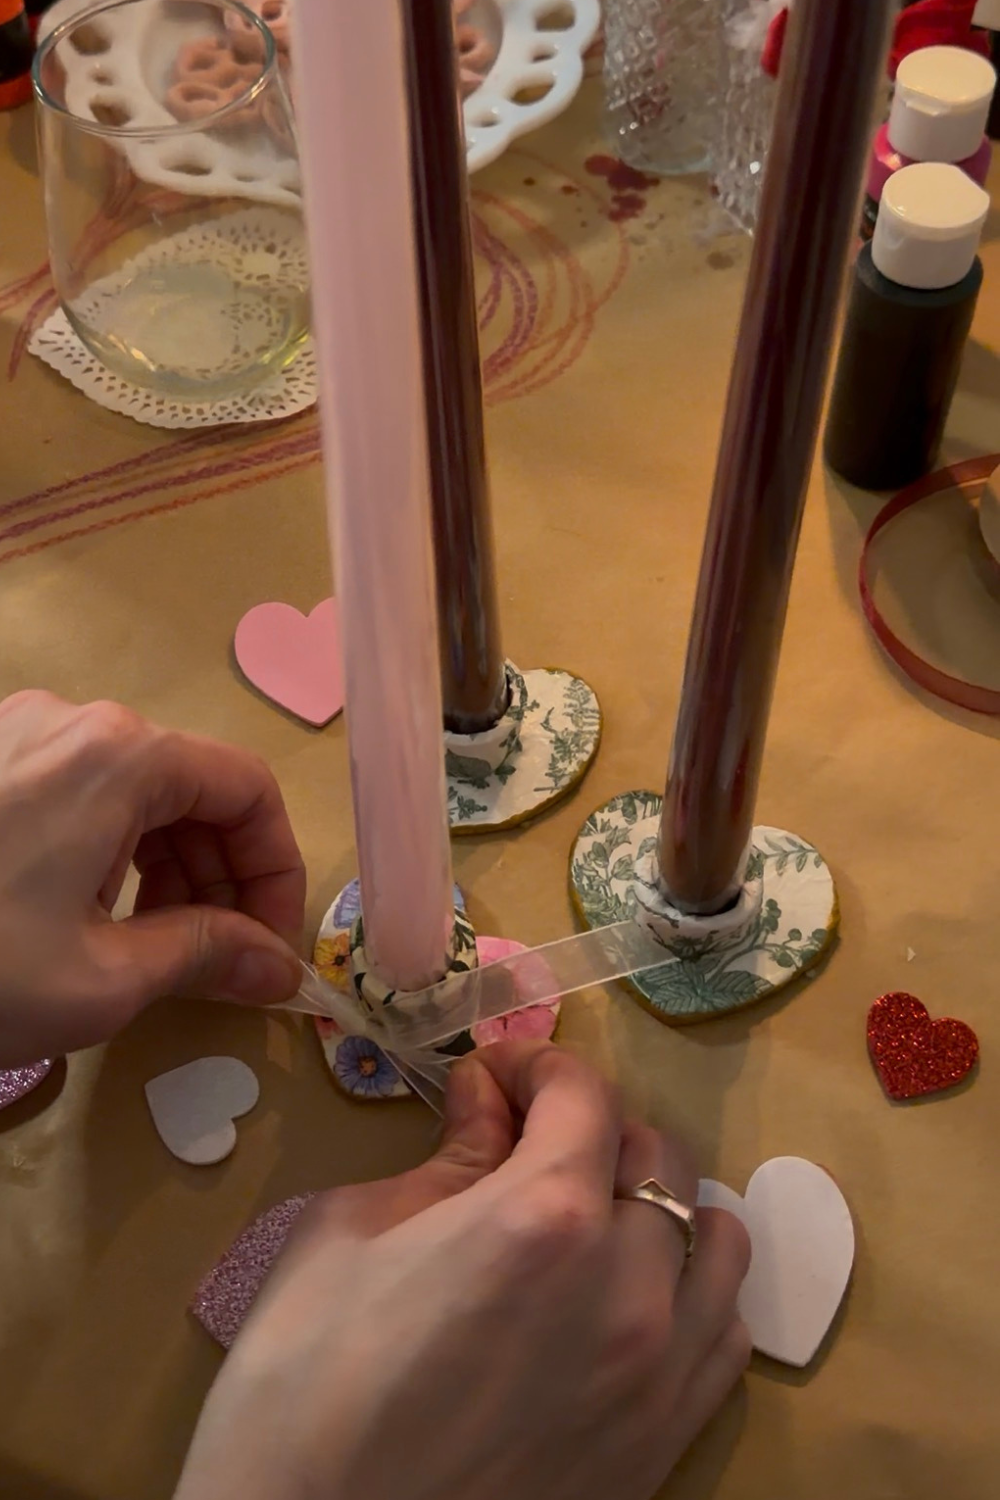
Tie a ribbon around the candle holder or around the base of the candle.
Insert the taper candle into the ring.
Each guest now has a handmade heart candle holder to take home.
Helpful Tips
Make the clay candle holders several days before your event so they have time to fully dry.
Always use the candle itself to size the clay ring for a perfect fit.
Use thin layers of Mod Podge so the napkin does not tear.
Cutting small notches in the napkin makes it much easier to wrap around curved shapes.
If you want a different look, the candle holders can also be painted instead of decoupaged.
A Simple Craft with a Handmade Feel
These heart candle holders are easy to prepare ahead of time and perfect for a relaxed craft activity with friends. Because each one is shaped and decorated by hand, no two pieces turn out exactly the same.
That small variation is part of the charm, making every candle holder a personal keepsake from your Galentine’s celebration.