Family Photos & DIY Frame Magnets for the Fridge
This DIY fridge photos & magnets project is one of the easiest and most satisfying ways I’ve found to decorate the fridge using things you probably already have at home. I create some fridge decor because I am tired of my photos only living in my phone. The process is simple, the result adds color and personality, and the fridge stops feeling like a blank appliance you barely notice.
I get to see this display every single day, which makes the effort feel completely worth it. Since we’re renting, every part of this setup is removable. Nothing is permanent, nothing damages the fridge, and everything can be rearranged whenever I feel like changing it.
The scrapbook-style look fits our home perfectly, but the same approach works just as well for a clean, minimal aesthetic if that’s more your style.
Items to Purchase for this Project:
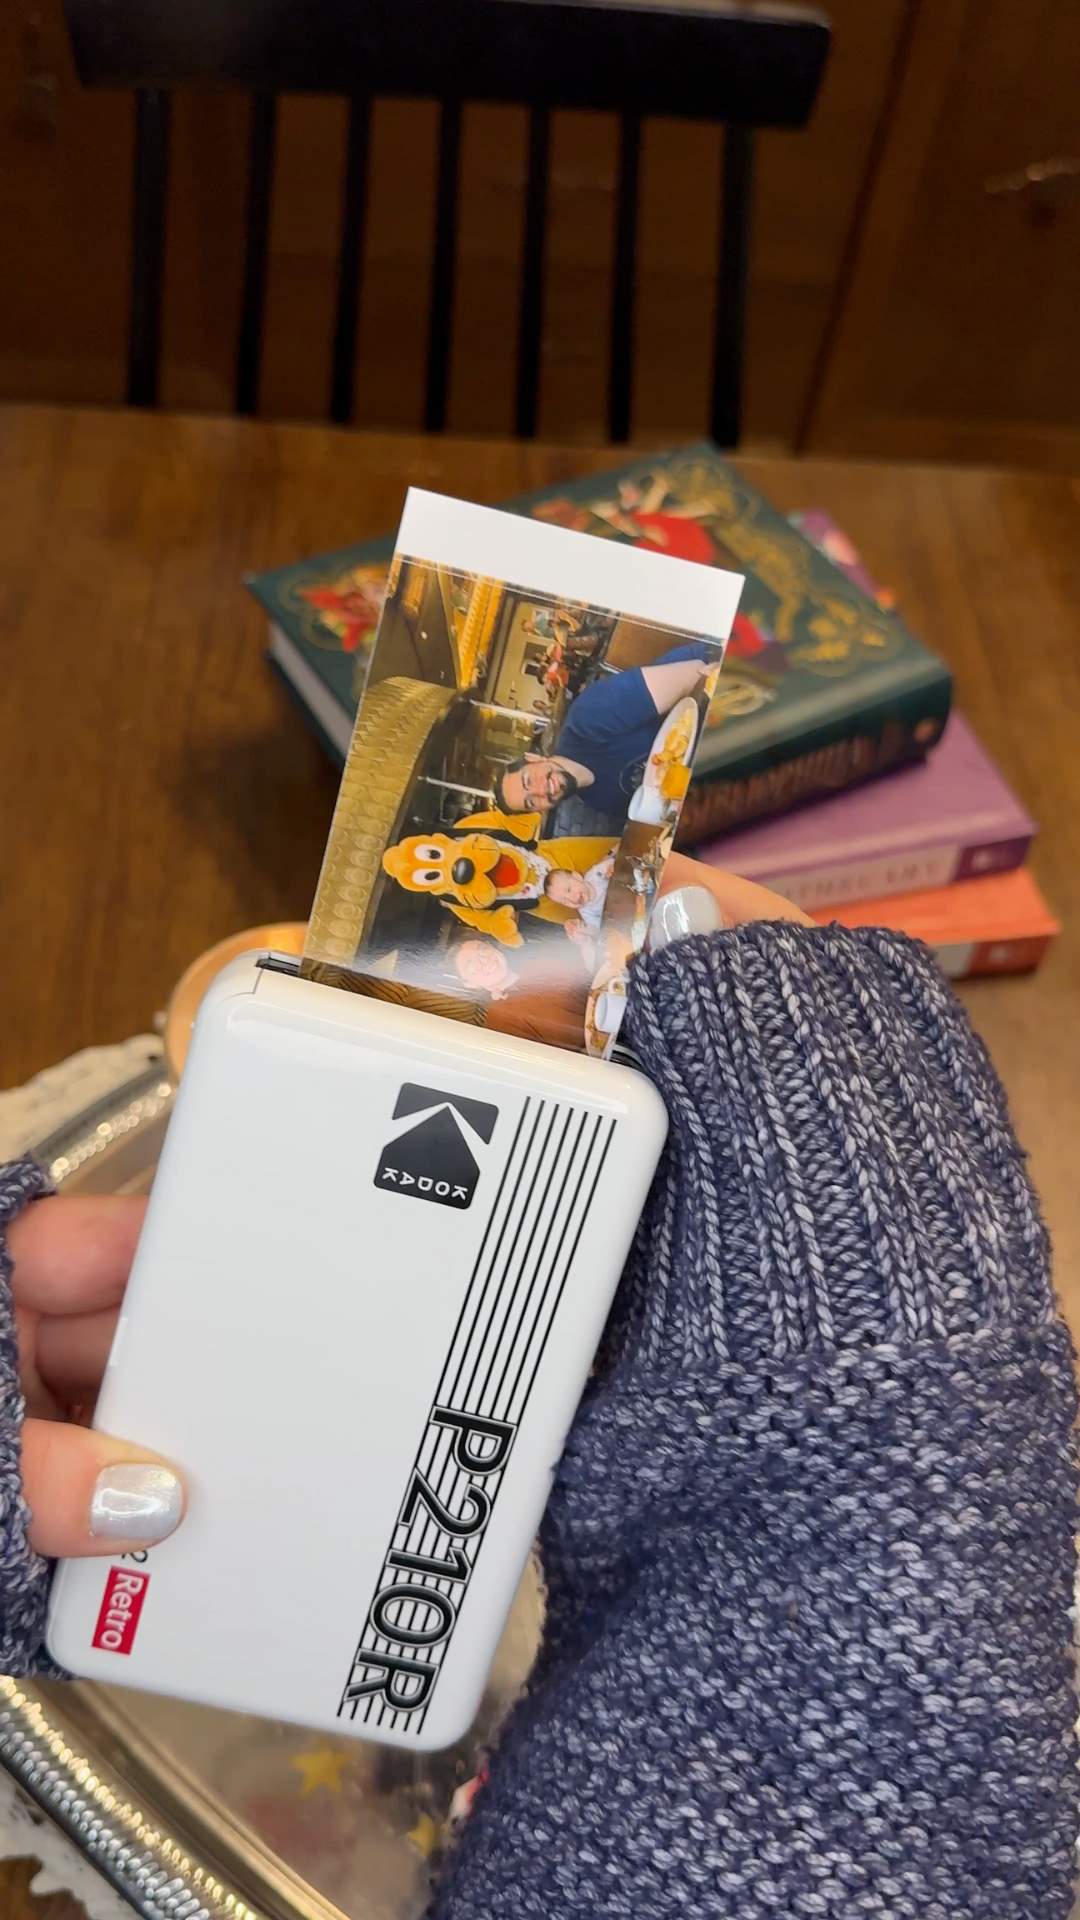
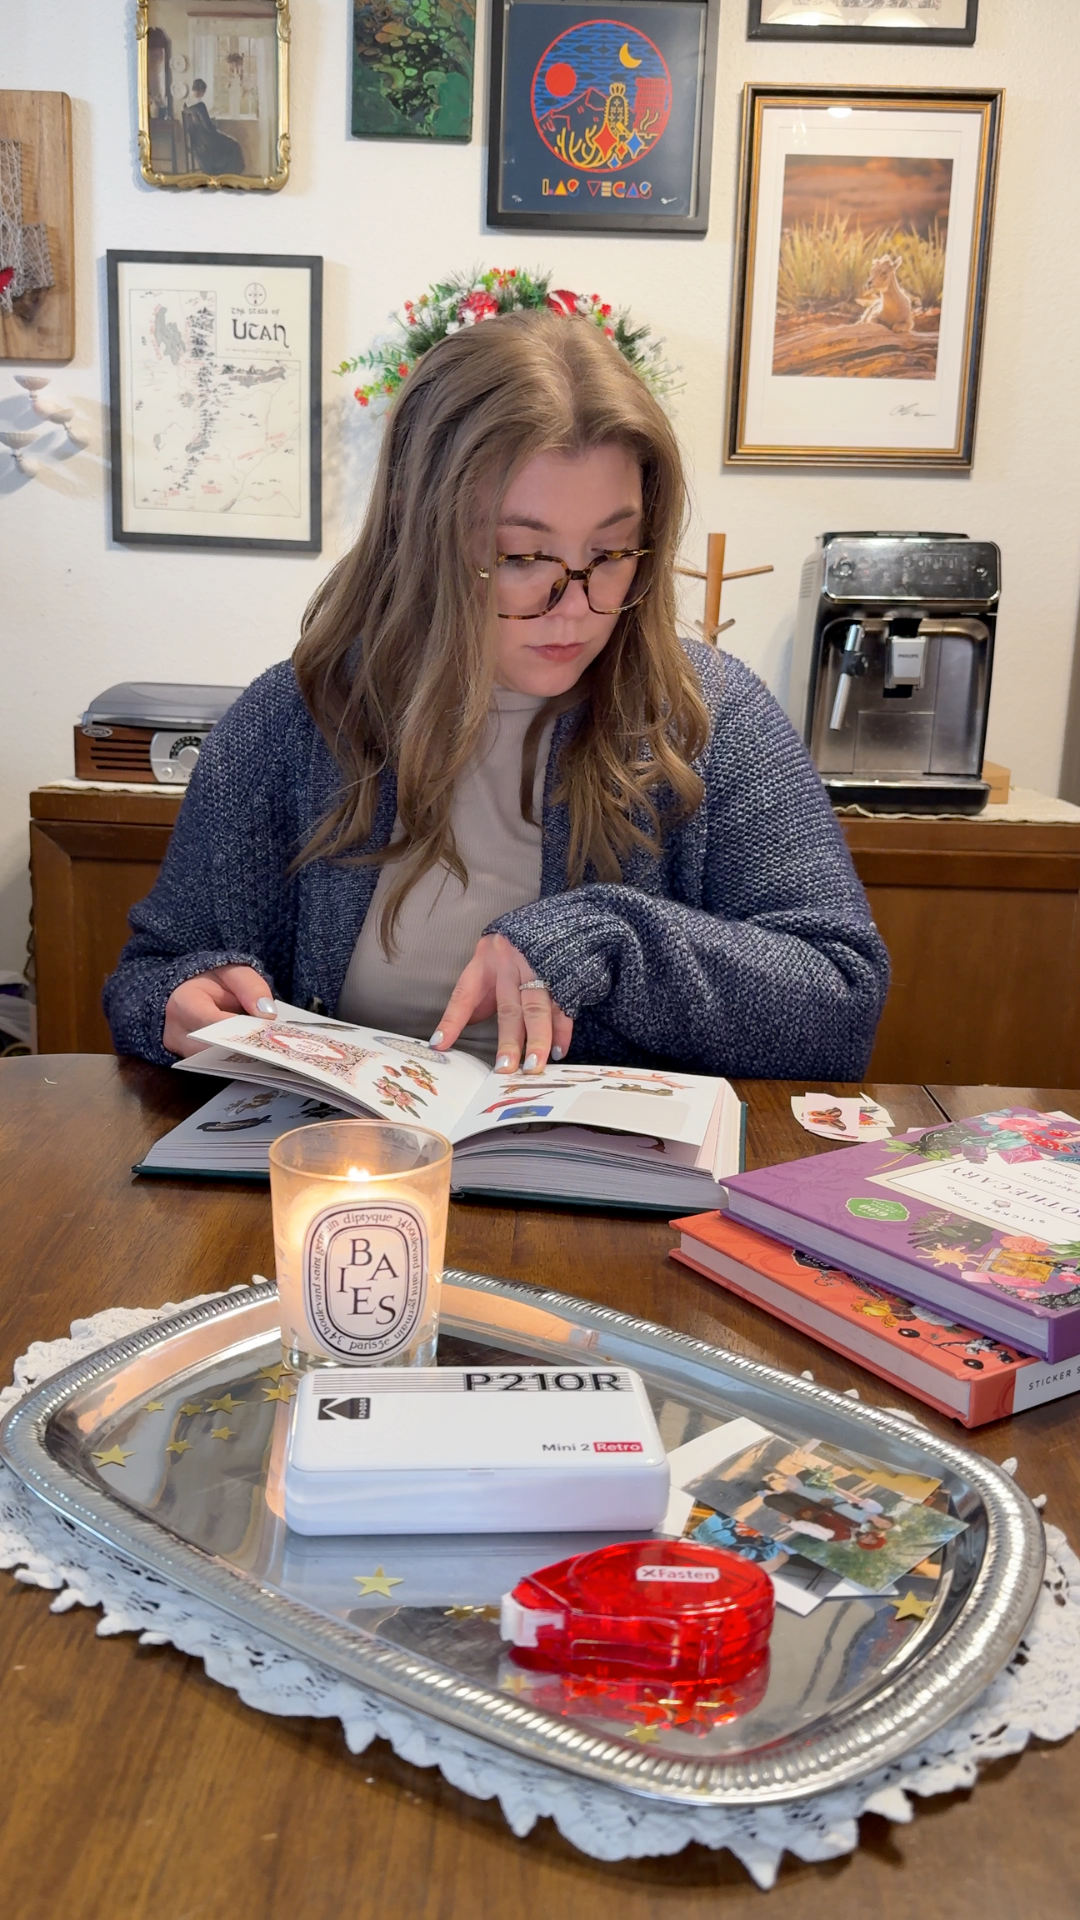
1. Select & Print Photos from Phone
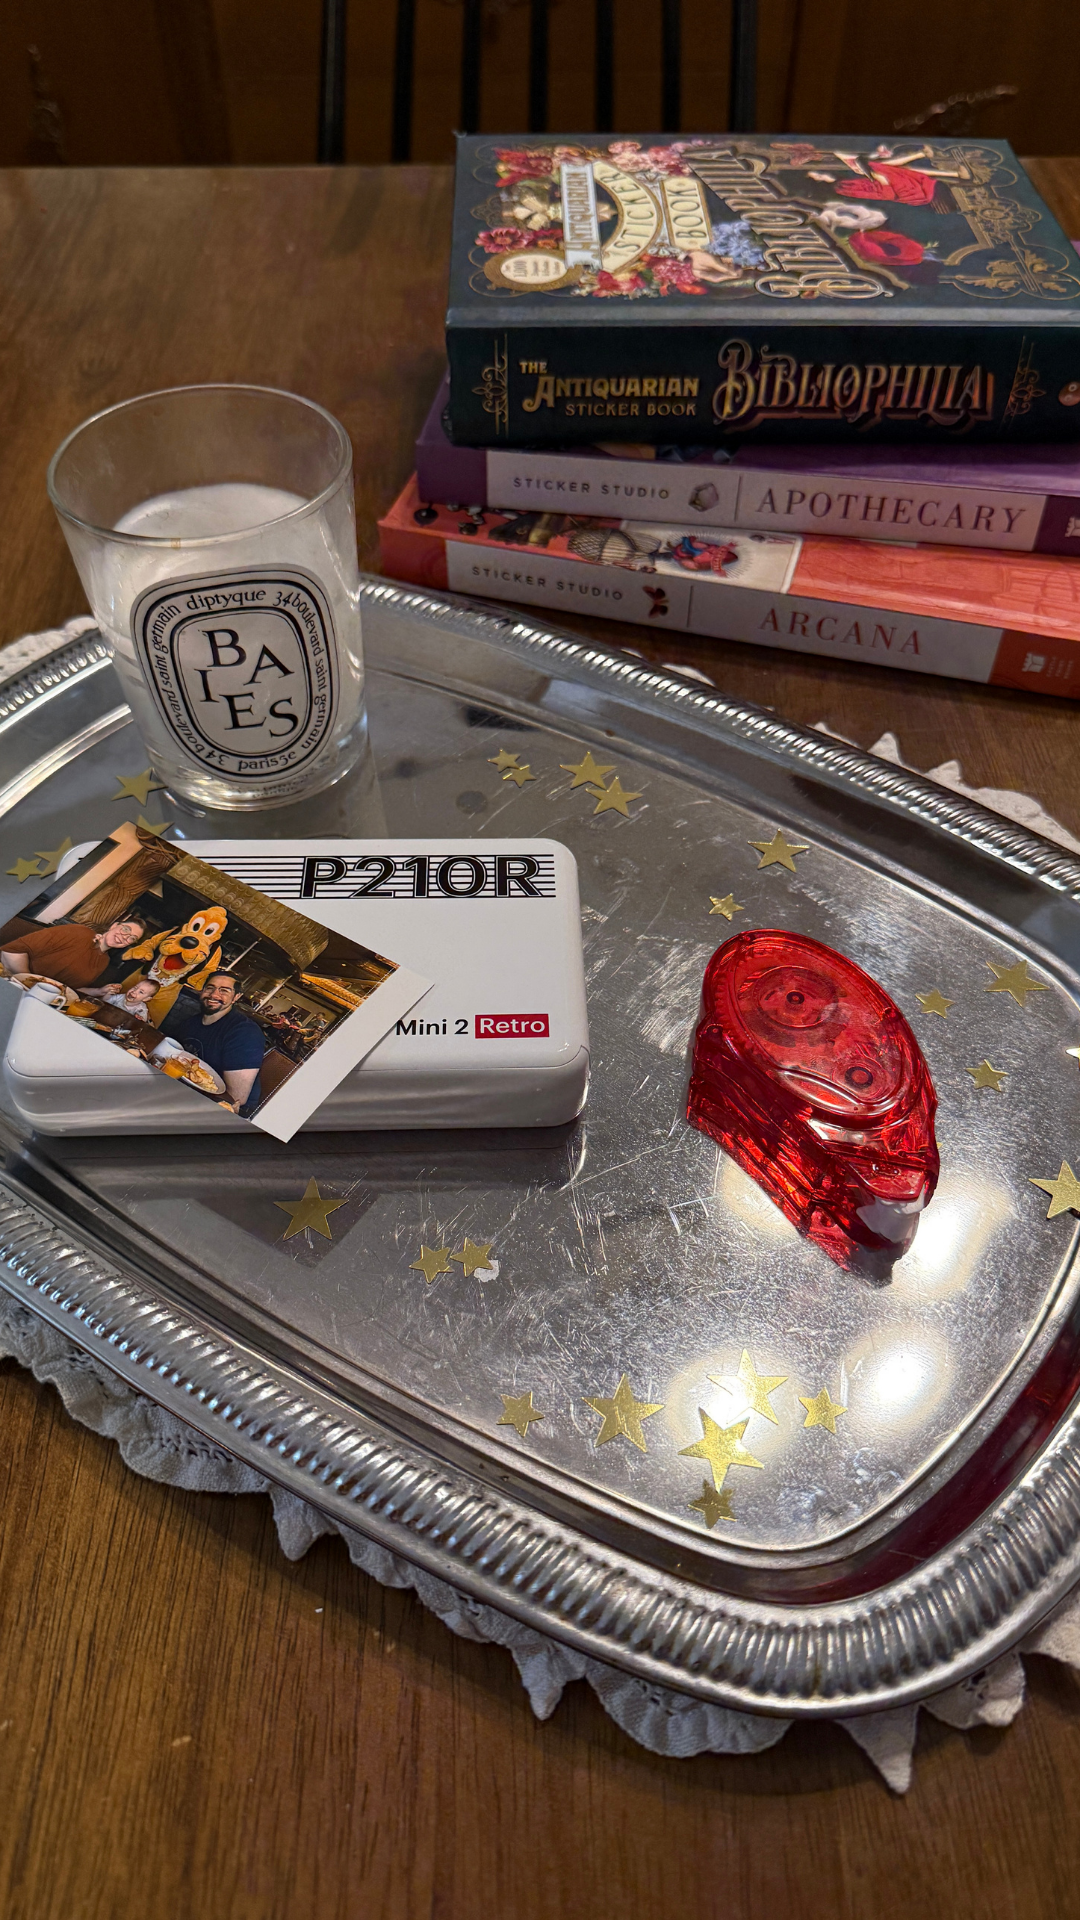
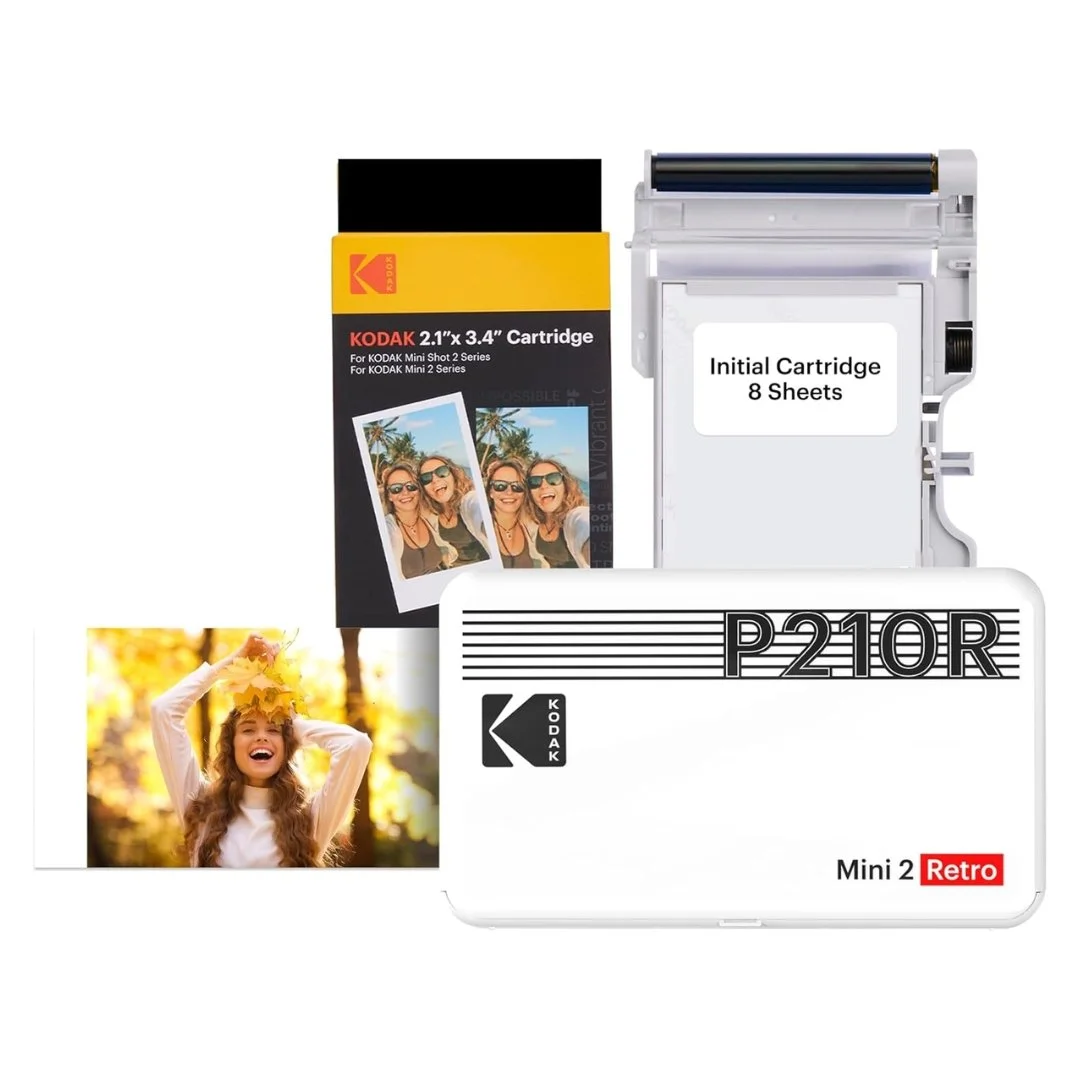
The entire project starts with printing photos. I printed mine directly from my phone using the Kodak Mini Portable Photo Printer, which made the process fast and straightforward. If you don’t have this, a regular printer and photo paper will do.
If you plan on using mini frame magnets, it helps to think about photo composition before printing. The frames are slightly smaller than the photo paper, so the placement of the subject matters. A centered face or focal point works best once a frame is layered on top. Cutting photos down is an option, but leaving them full size gives the display a more relaxed, scrapbook feel, which I personally prefer.
There’s no need to overthink quantity. Printing a small batch of favorite photos is more than enough to get started.
2. Choose Decorative Elements (i.e. Stickers)
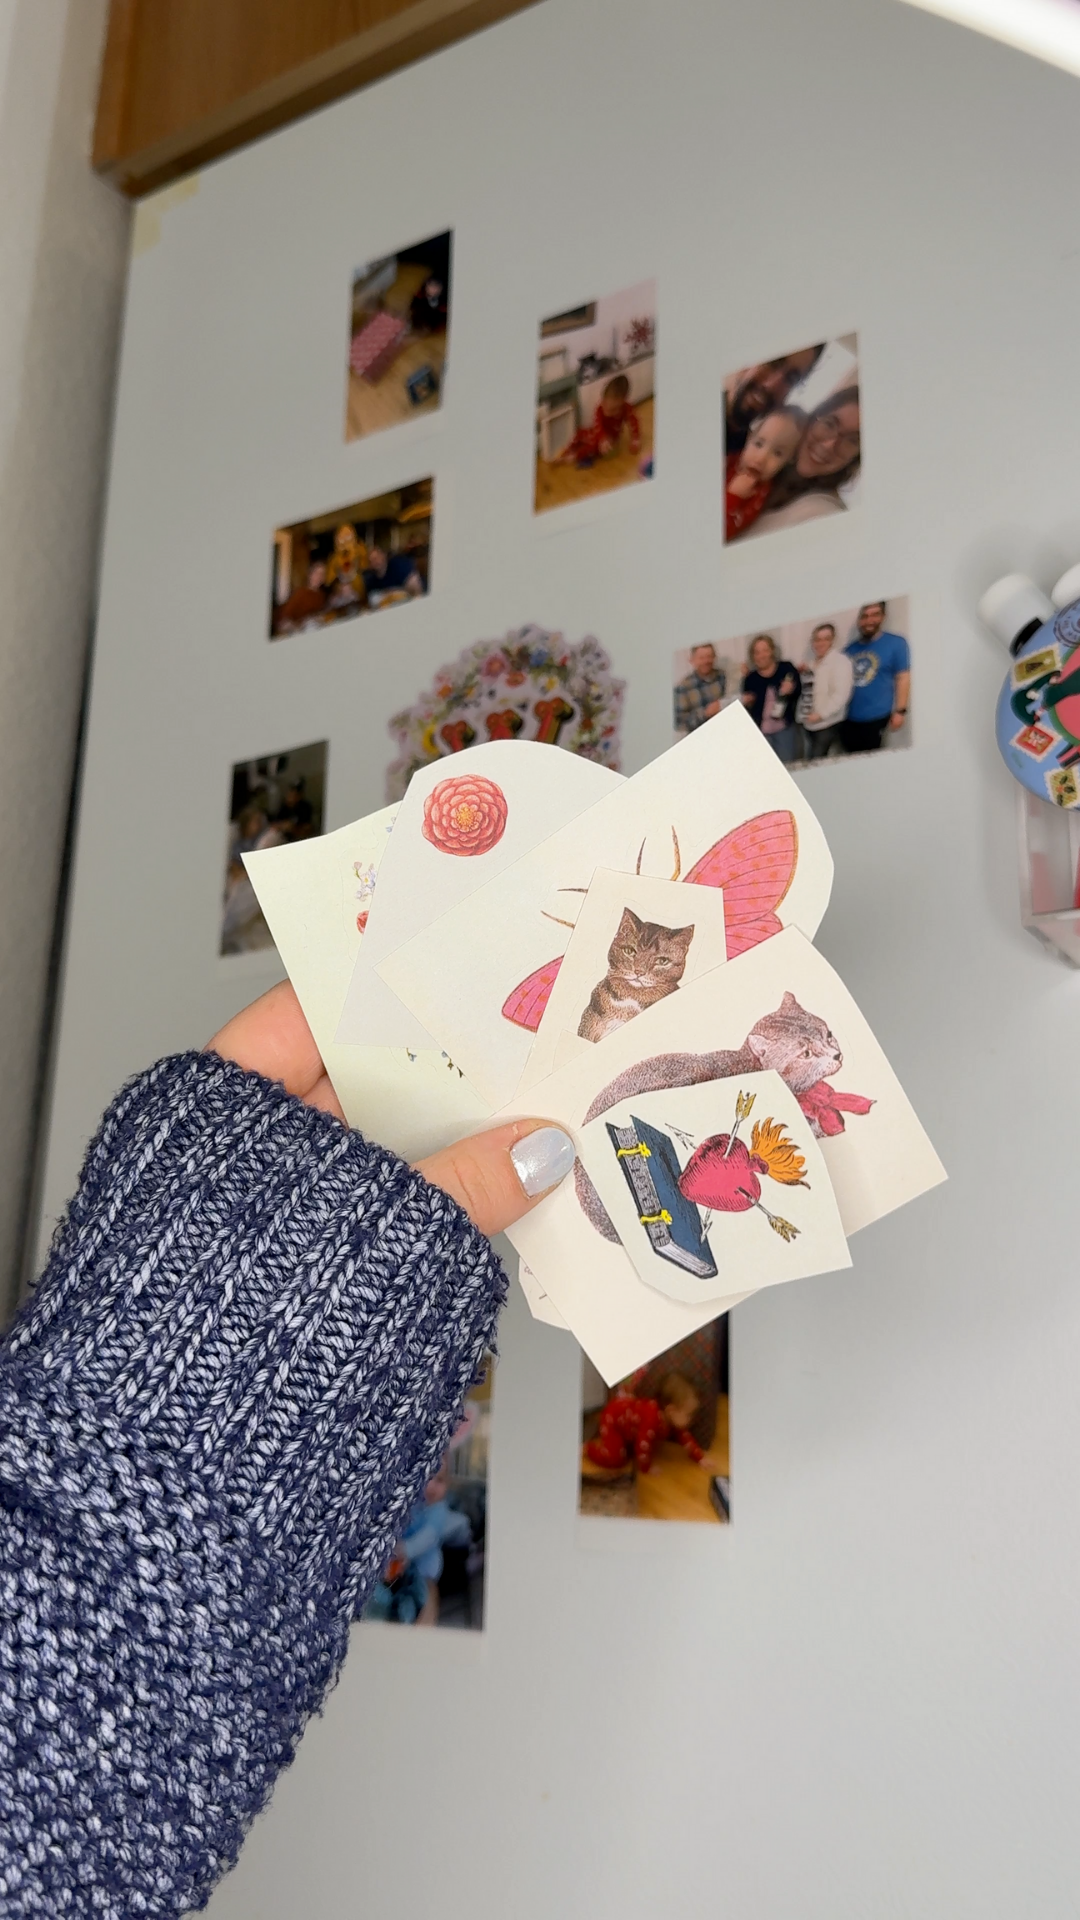
Once the photos were printed, I pulled together everything else I wanted to use on the fridge. I chose stickers, but fridge magnets work just as well and add personality in a different way.
I used stickers. The Antiquarian: Bibliophilia book is a collection of 1,000 stickers that I used for this project. Before anything went on the fridge, I laid all of the photos, stickers, and frames out on the table. Seeing everything together makes it easier to decide what actually belongs in the display and what can stay in the drawer for another project.
This step doesn’t require planning so much as feeling things out. Moving pieces around on a flat surface takes the pressure off once you start placing items on the fridge.

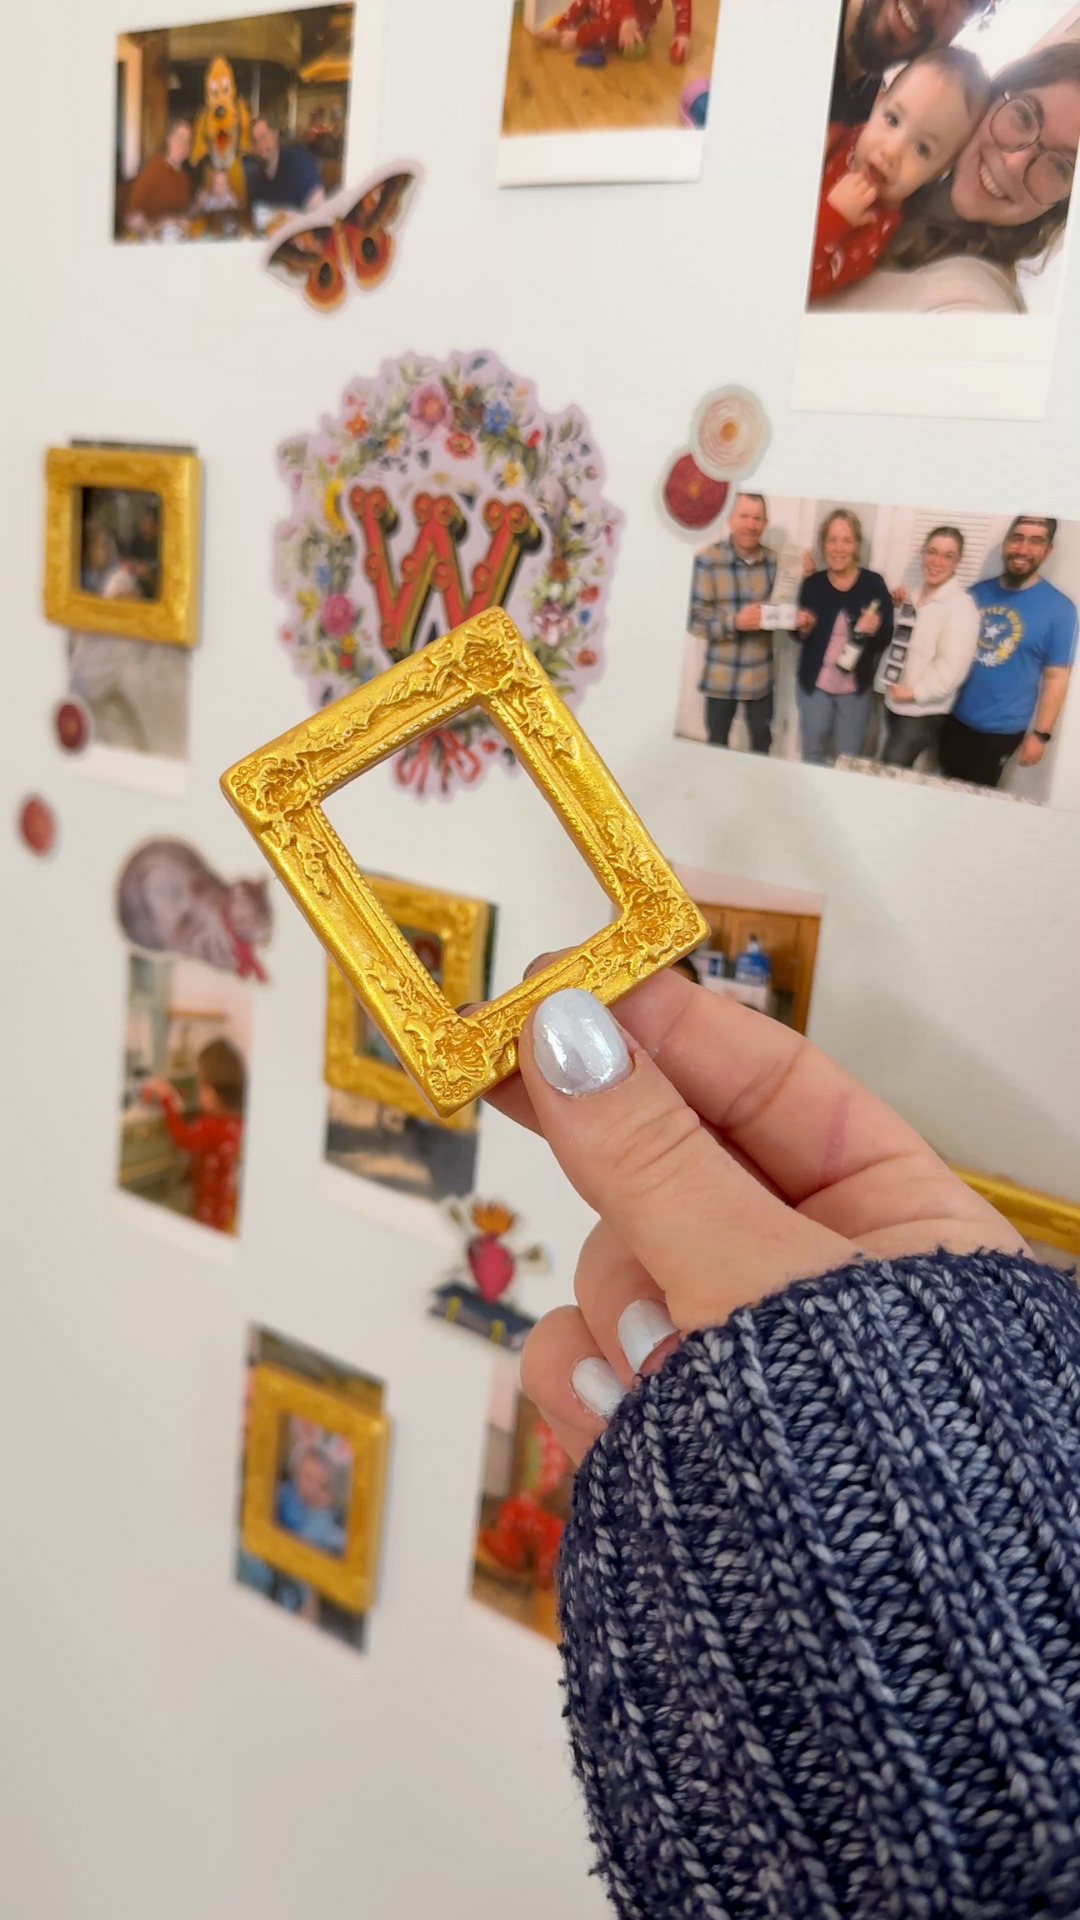
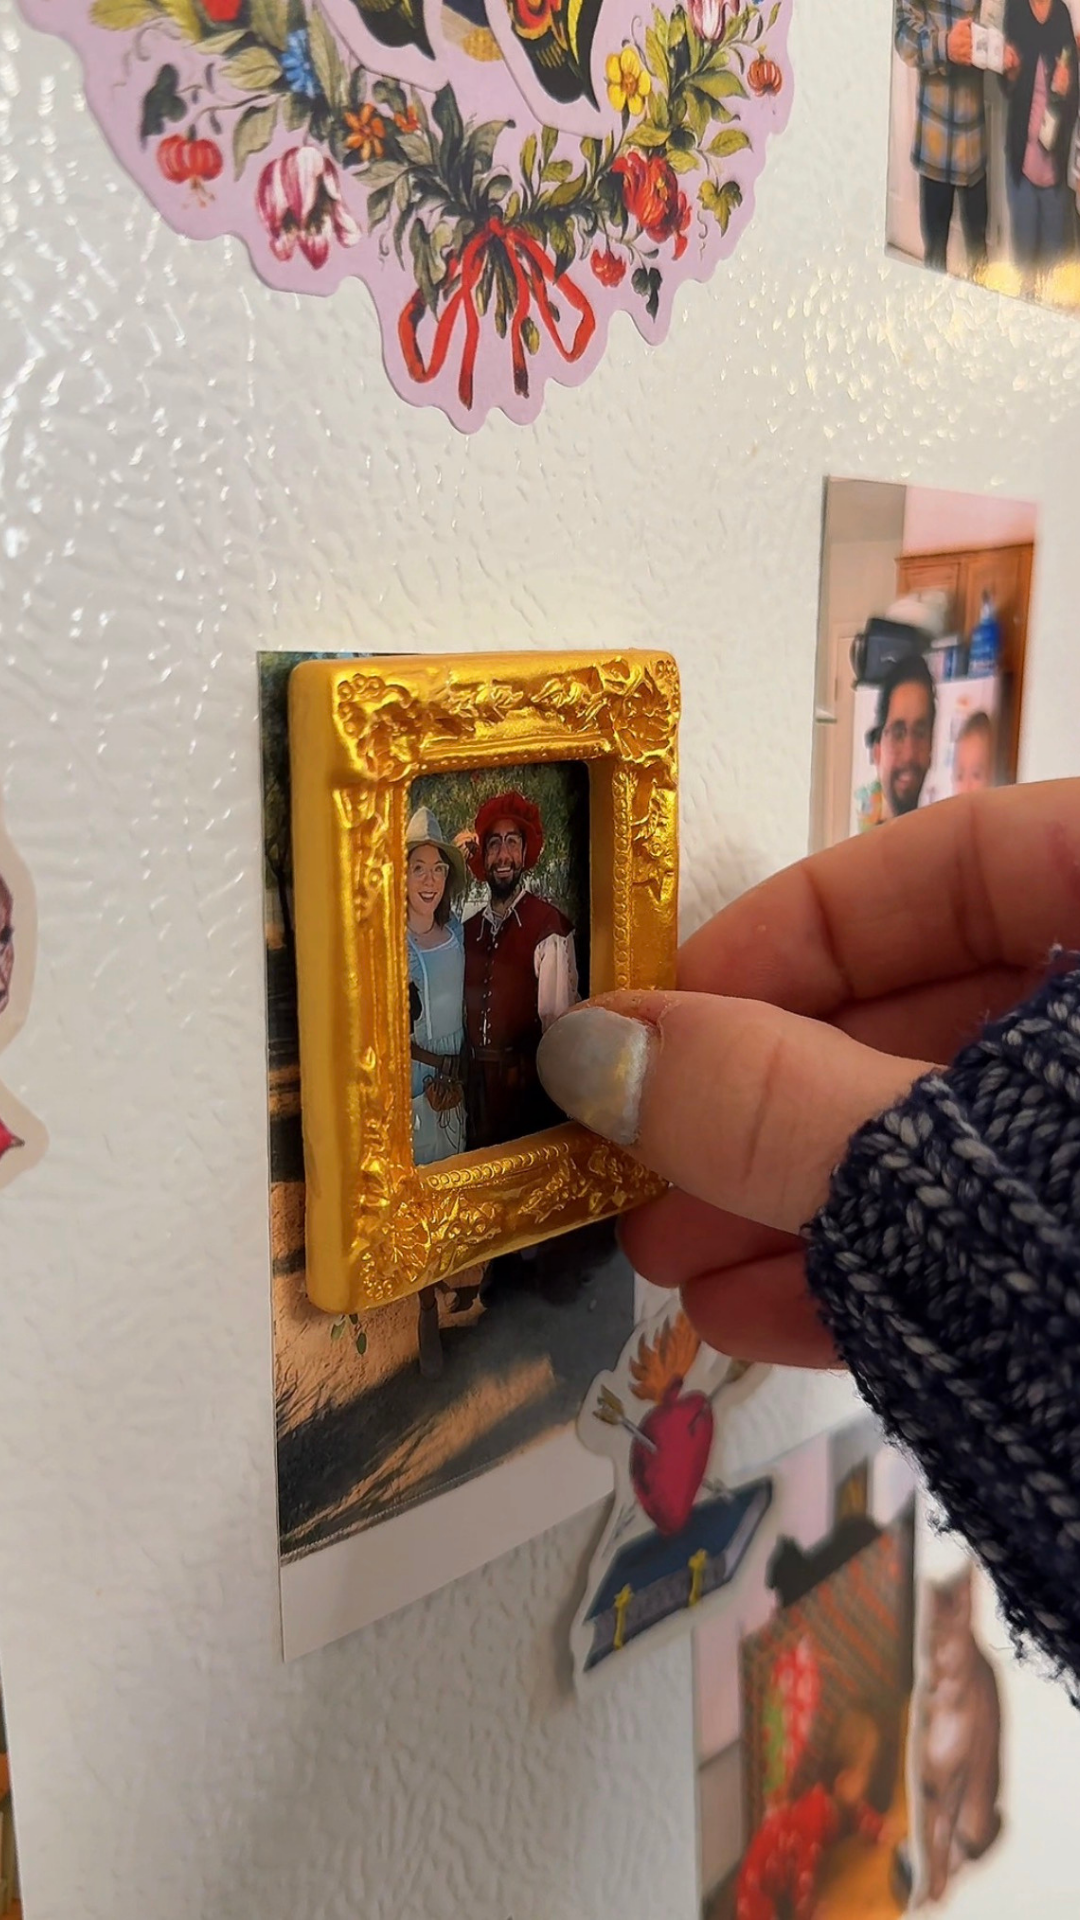
3. Make Mini Photo Frame Magnets
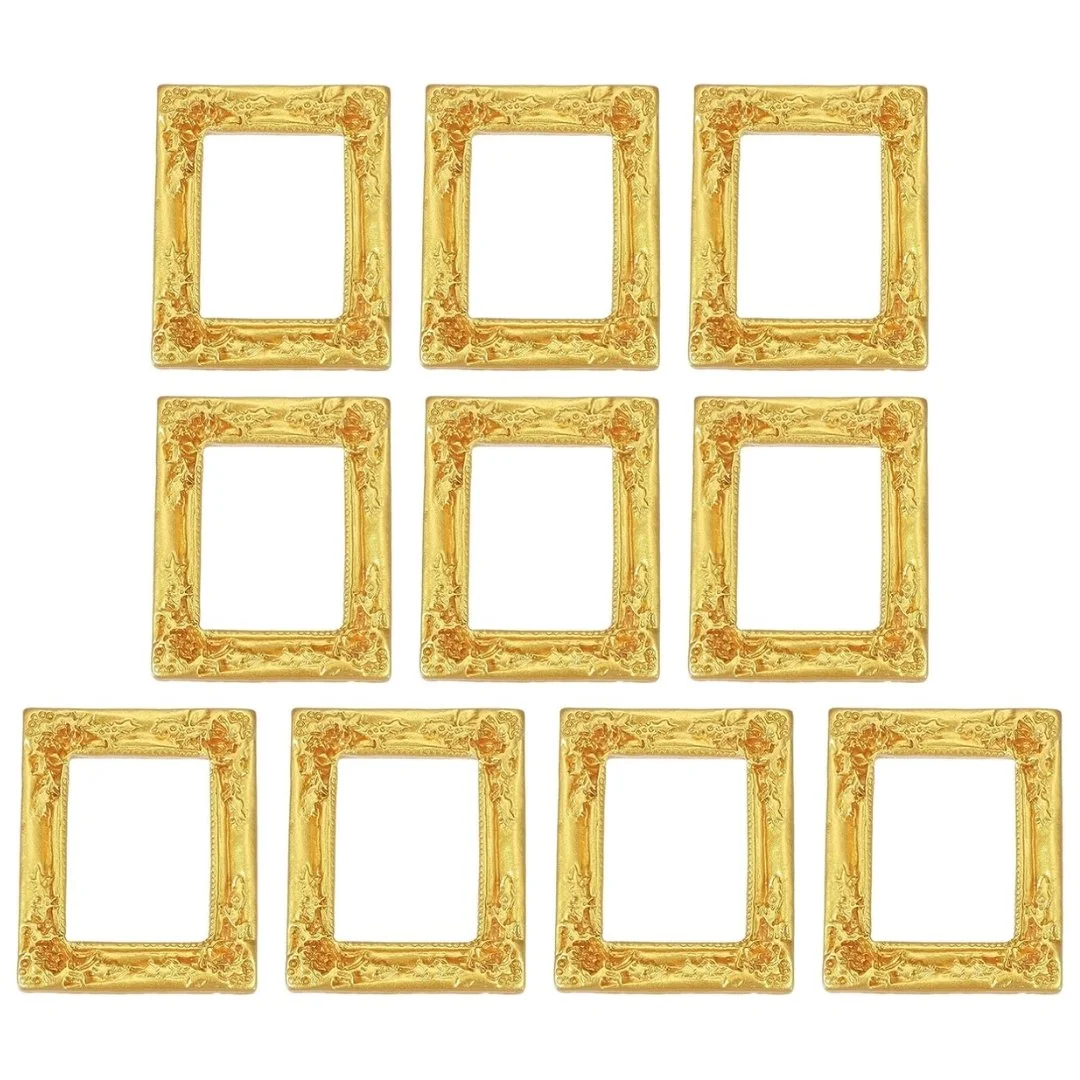
The mini photo frame magnets DIY is optional, but these frames add so much charm to the fridge.
Here are the steps to make sure your mini photo frame magnets are FLAWLESS.
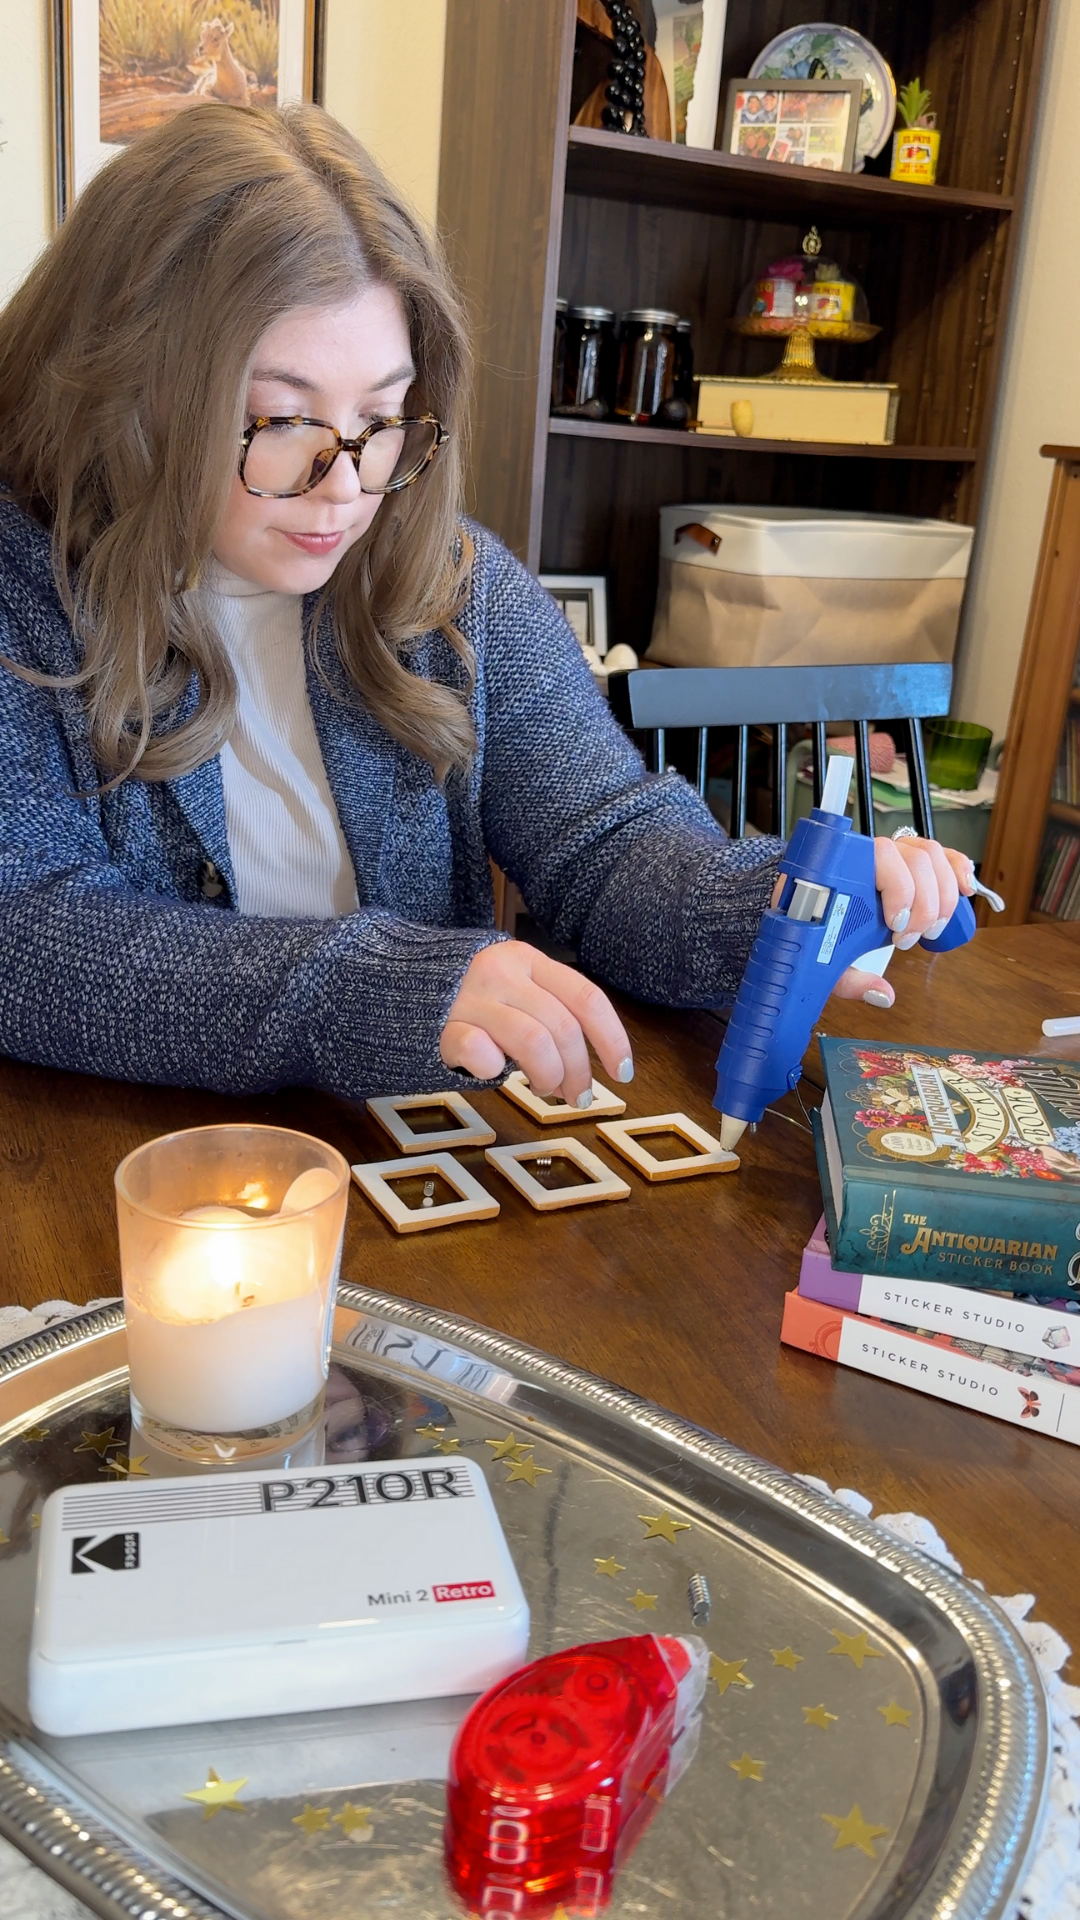
Plug in the hot glue gun
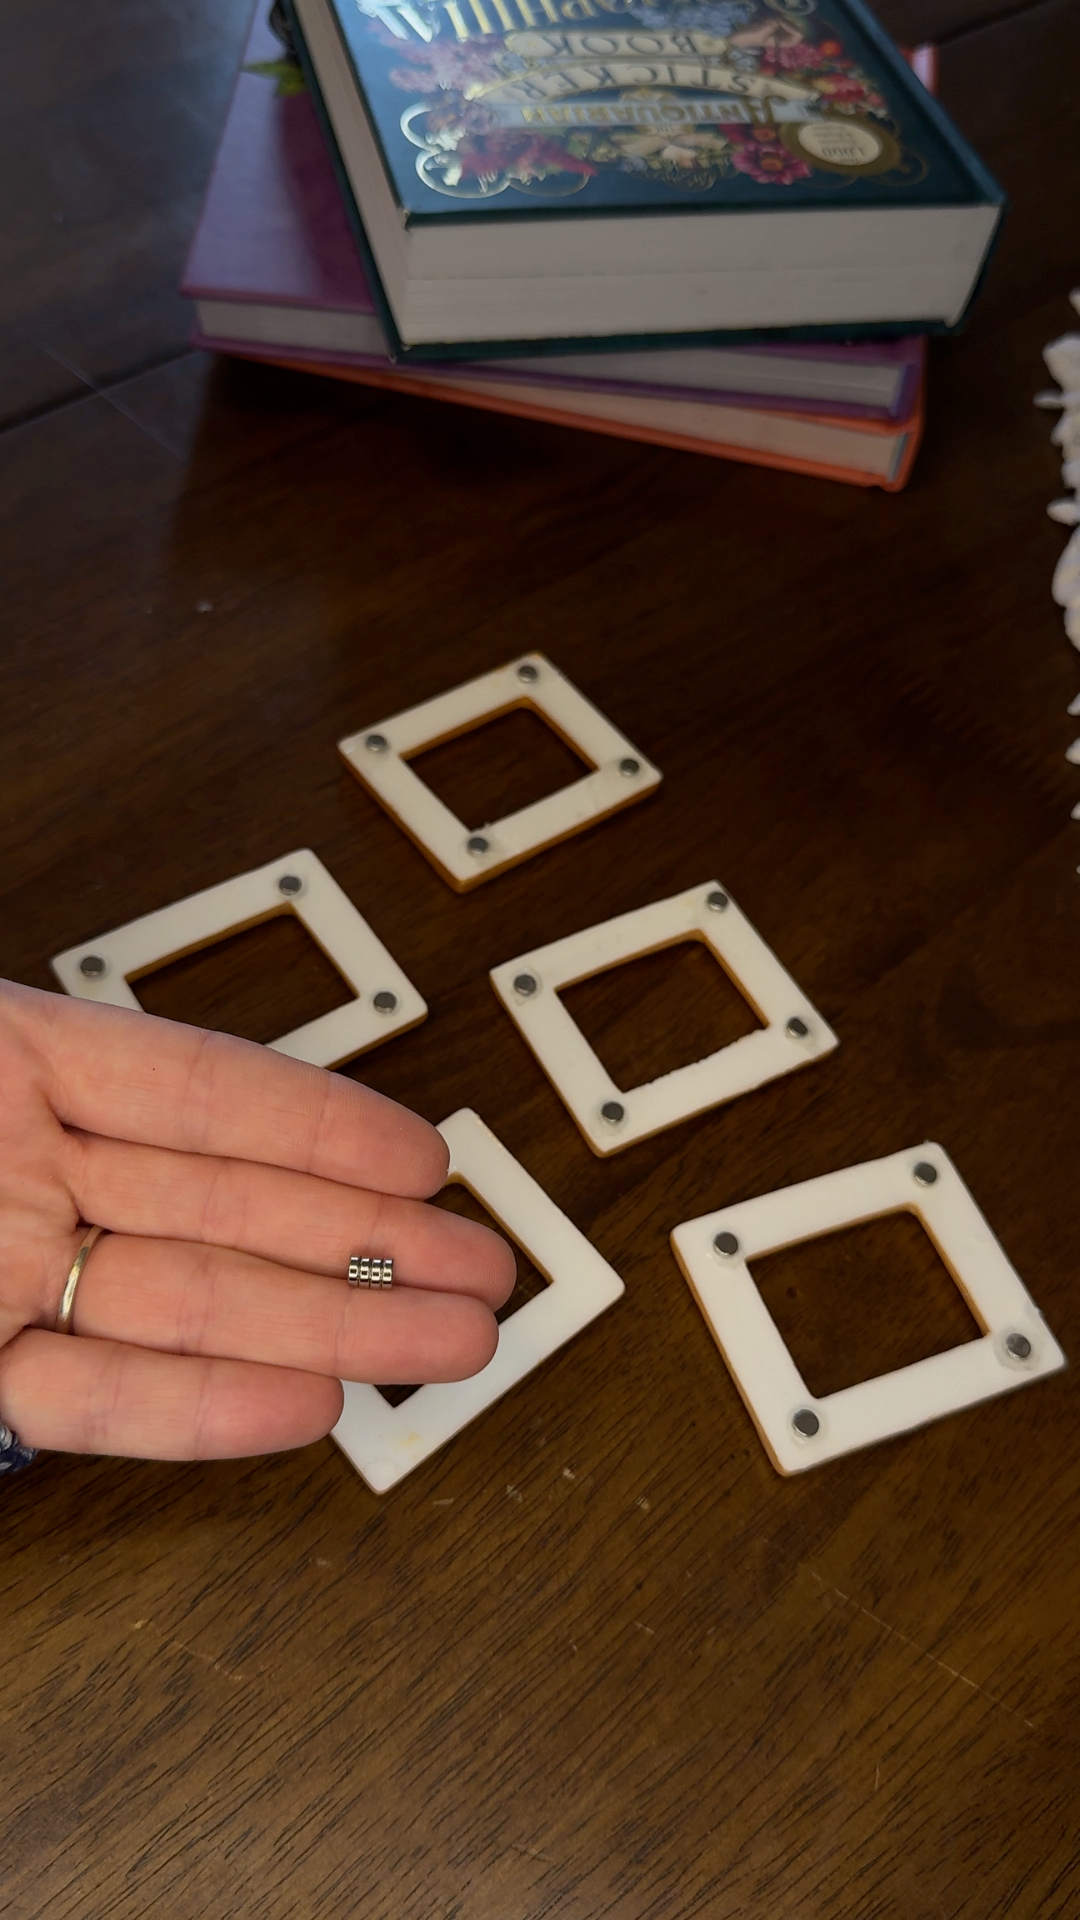
Lay out mini frames
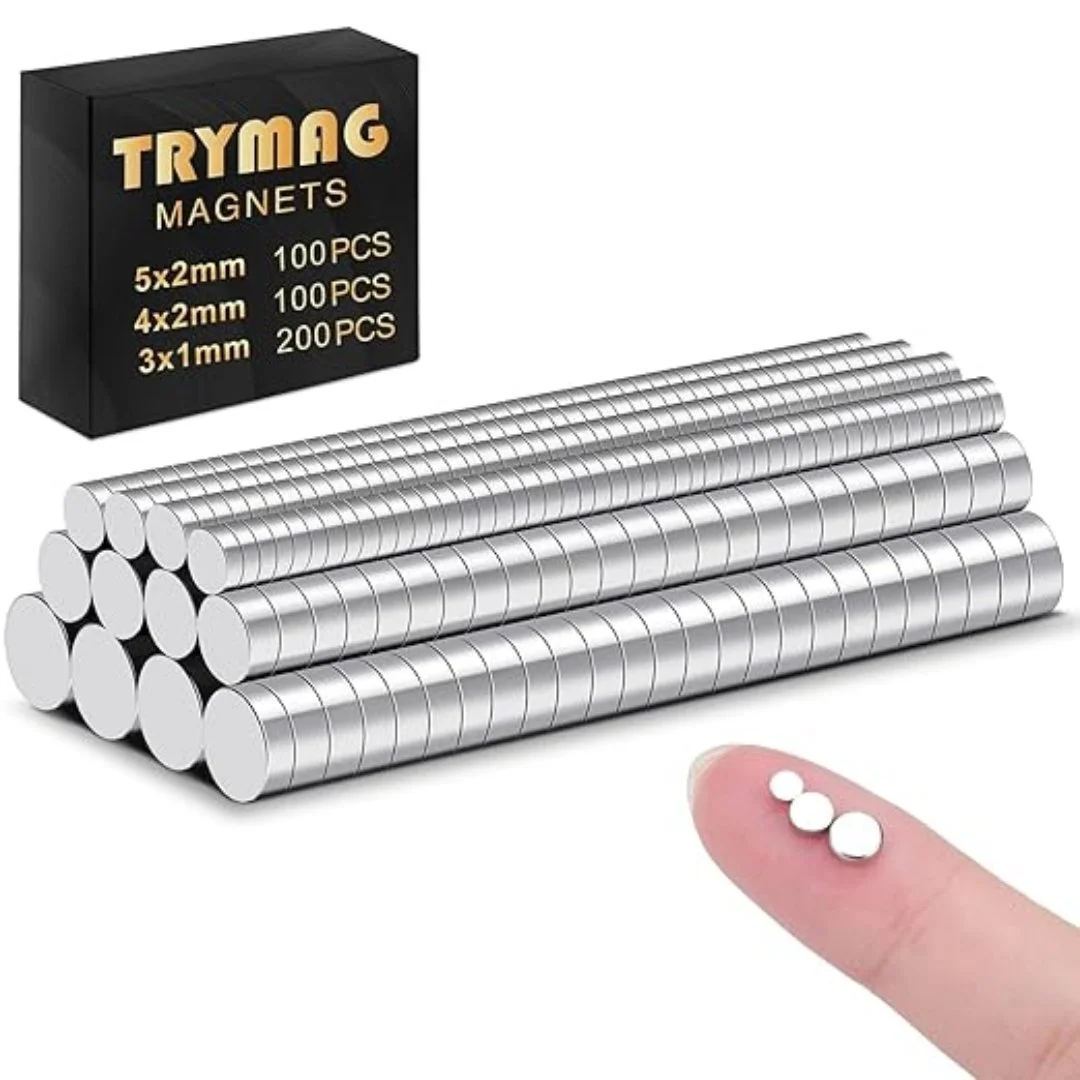
Grab mini magnets and separate 4 of the largest size per frame
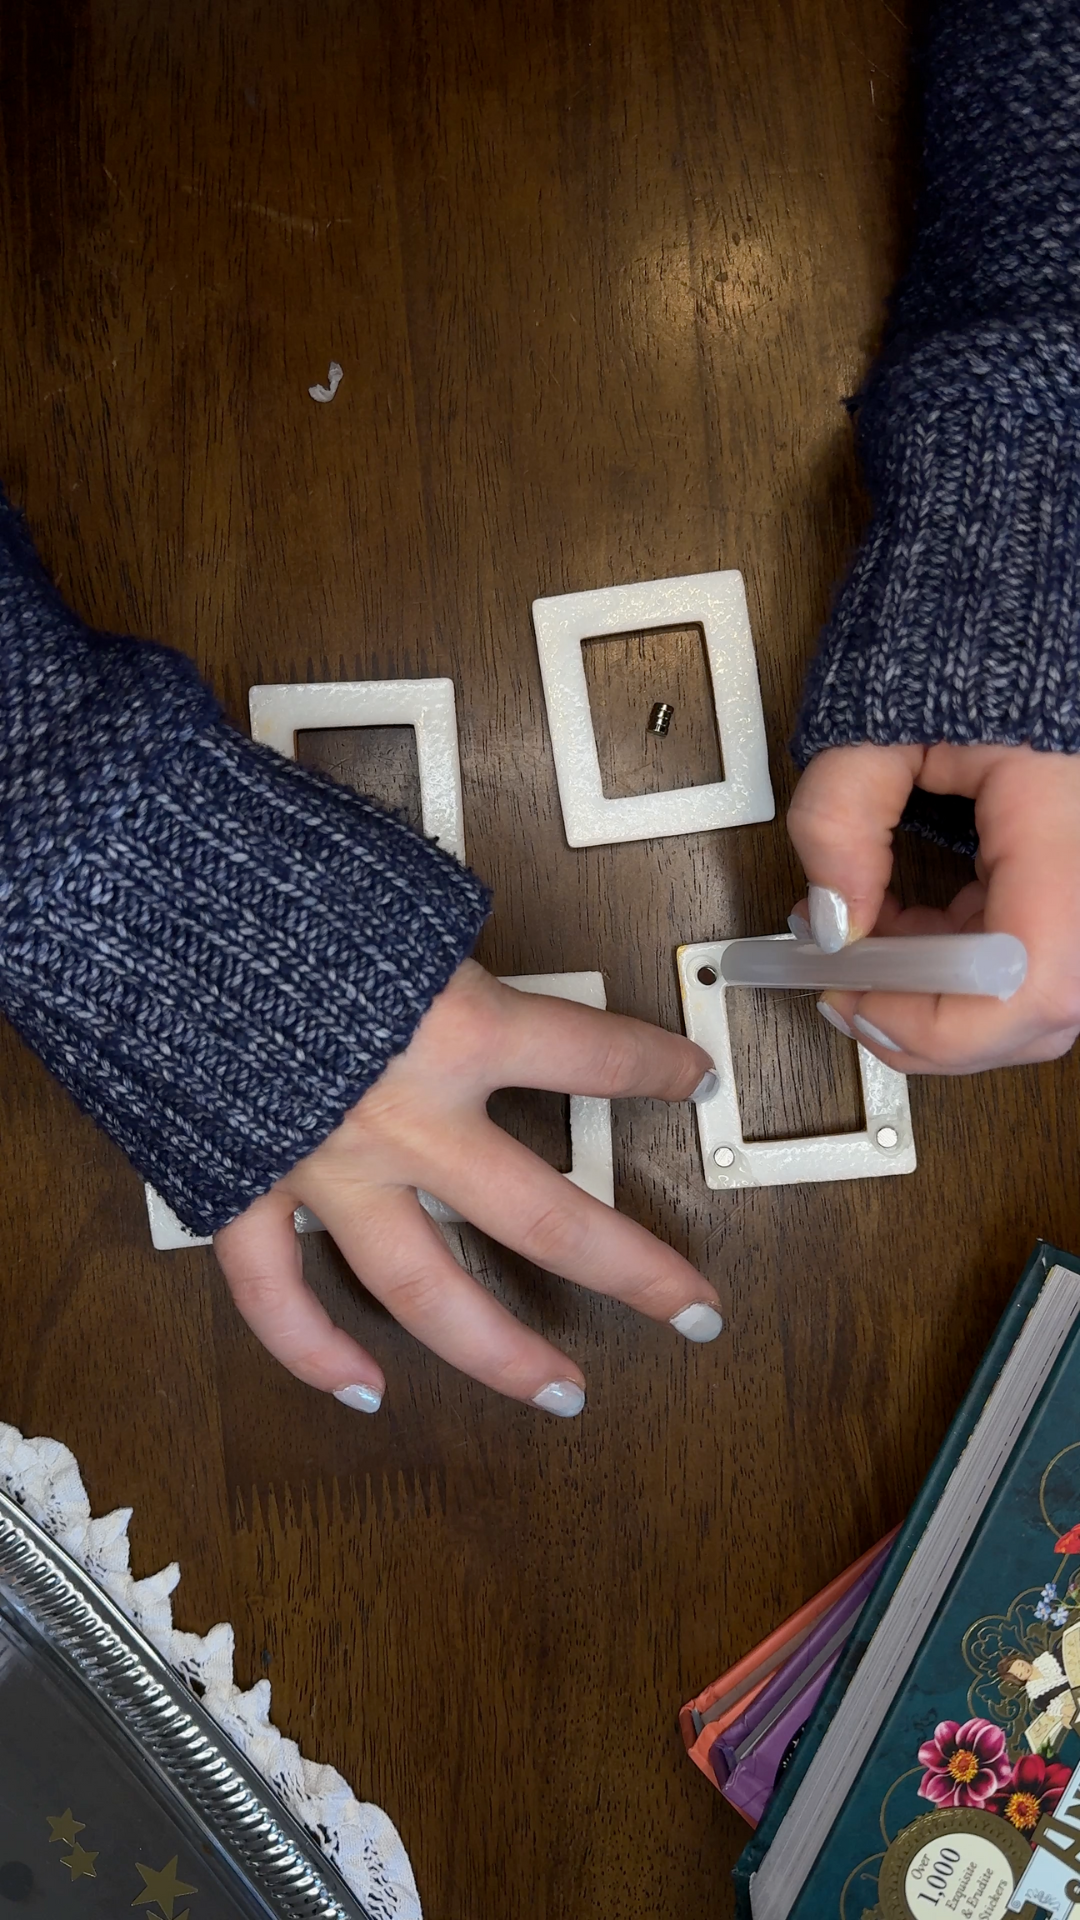
Find a flat object to press down on magnets (I used the flat side of an unused hot glue stick
Dab a small bit of glue on 1 corner of the frame (smaller than a pea)
Immediately add 1 magnet to dot of glue AND
Use your flat object (hot glue stick) to press down evenly on the magnet till glue sets.
One thing I learned quickly is that magnet height matters. If the magnets sit unevenly on the back of the frame, the frames won’t sit flat on the fridge.
To avoid that (steps 4-6), I placed a small dot of hot glue on the frame, set the magnet on top, and used the flat side of a hot glue stick to gently press the magnet down. Holding it in place for a moment helps each magnet sit at the same height before the glue sets.
That small step keeps every frame flush against the fridge and makes the display feel more intentional.
4. Decorating the Fridge with Photos, Stickers, and Frames
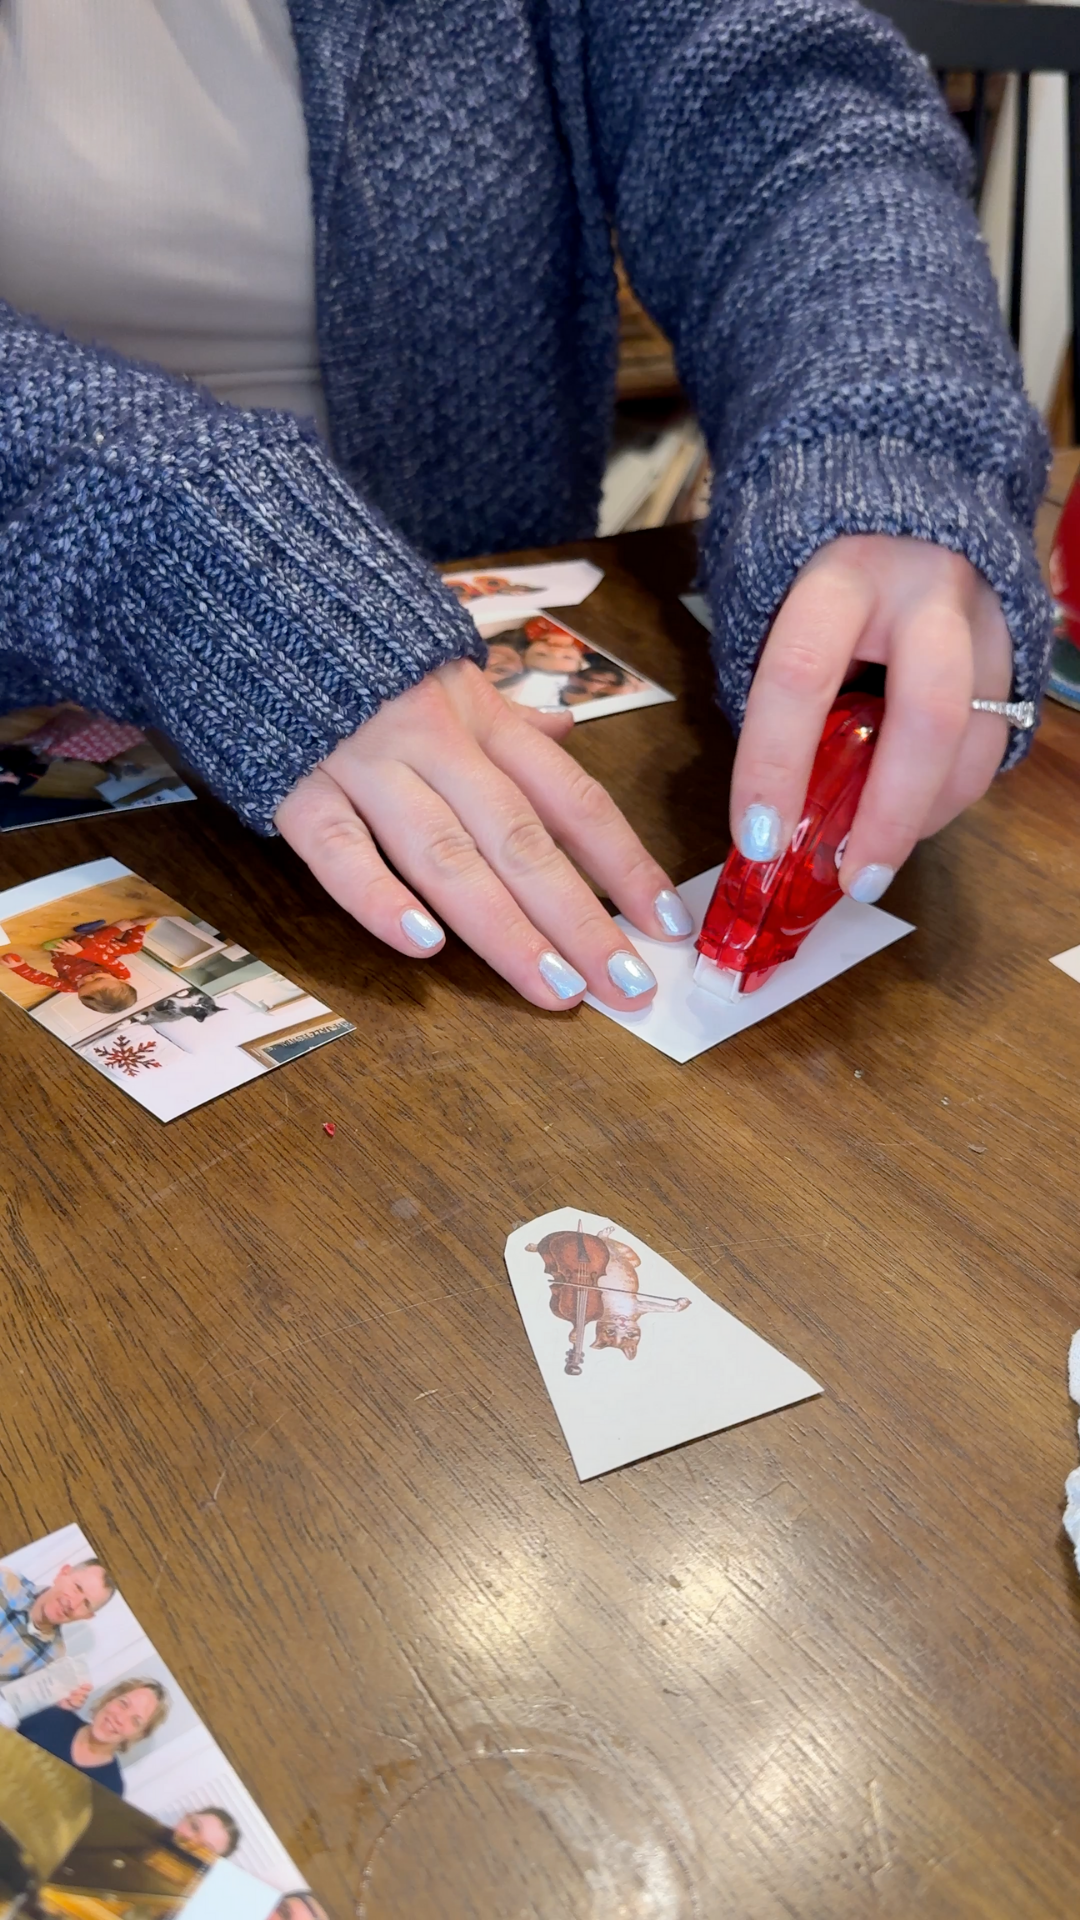
After laying everything out and deciding on placement, I started attaching items to the fridge. For the photos themselves, I prefer adding a small piece of double sided adhesive tape to the back instead of relying only on magnets. Opening and closing the fridge can cause magnet-only photos to shift or fall, and the tape eliminates that problem entirely.
The frames and decorative magnets are easy to move, and the stickers aren’t overly permanent. Rearranging the display later feels effortless rather than annoying, which makes the whole project more enjoyable.
Adapting This Look to a More Minimal Style
While my fridge leans colorful and scrapbook-inspired, this setup translates easily to a cleaner look. Printing photos in black and white, keeping the layout set in neat rows, and placing frames evenly will create a more clean aesthetic.
The same printer, frames, and process apply. Only the photo choices and layout change.
Great End Results with this Fridge Decorating Idea
This fridge decorating project is simple, flexible, and low commitment. The materials are easy to find, the result is flexible if you want to change things out easy, and BONUS: it’s renter friendly if that’s something you’re looking for.
For me, adding personality to a space you interact with every day makes a bigger impact than you might expect.
To all my amazing readers, happy crafting.